The warm scent of caramelized sugar and butter drifting from the oven makes the kitchen feel like a small celebration. I remember pulling a loaf pan from the oven, the top deeply browned and slightly cracked, and handing a slice to my child who said it tasted like a special kind of hug. If you love gentle, homey desserts like fluffy maple cinnamon pancakes, this Burnt Basque Cheesecake in a Loaf Pan will feel like another long, happy Sunday in your own house.

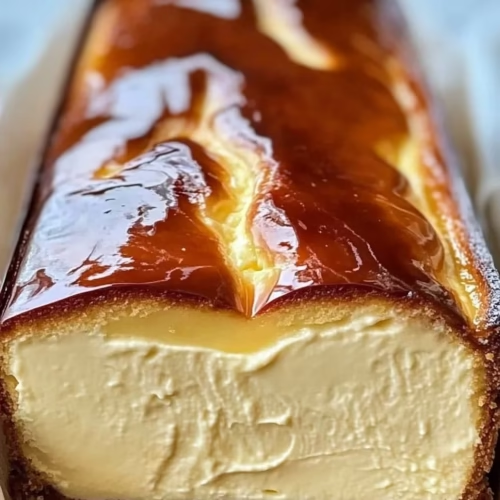
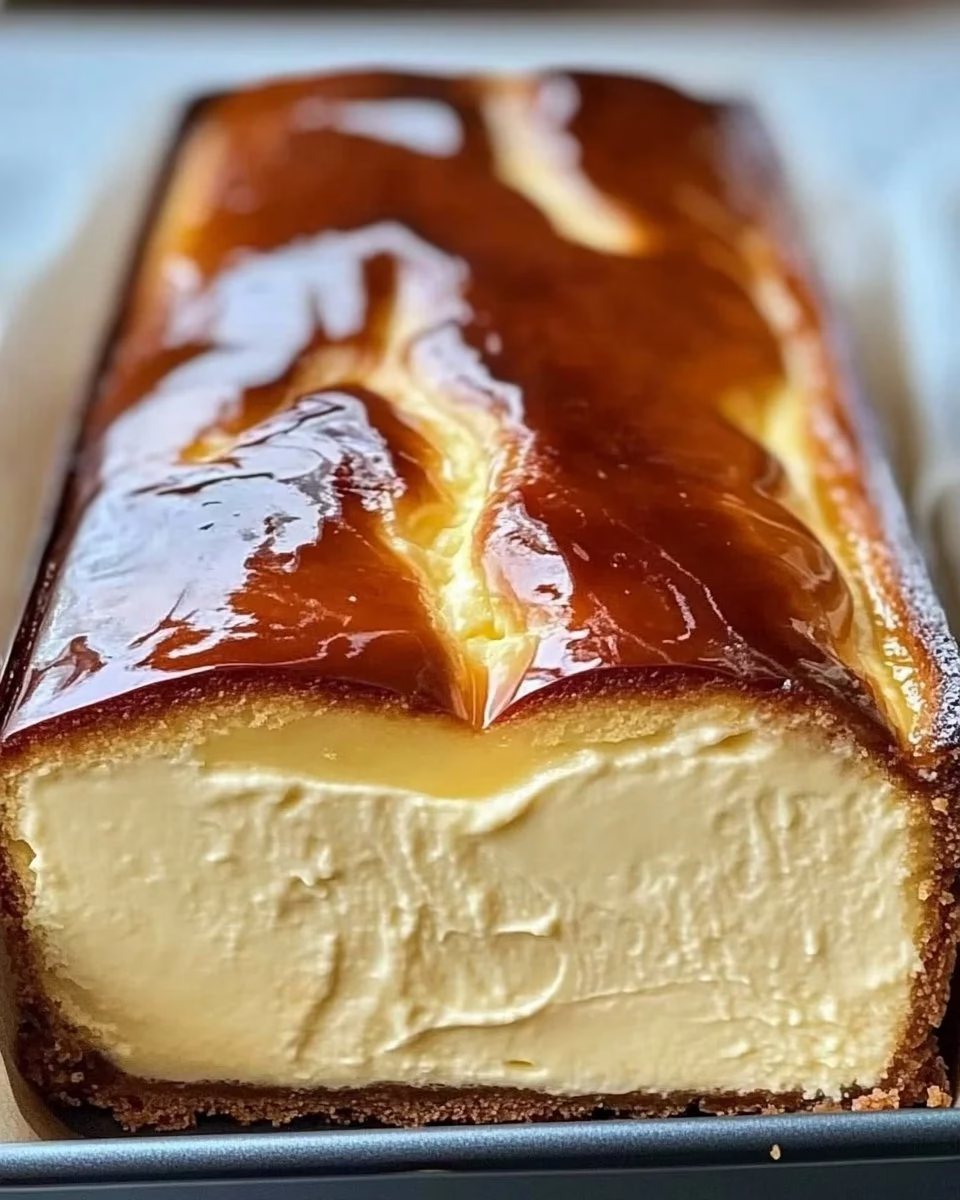
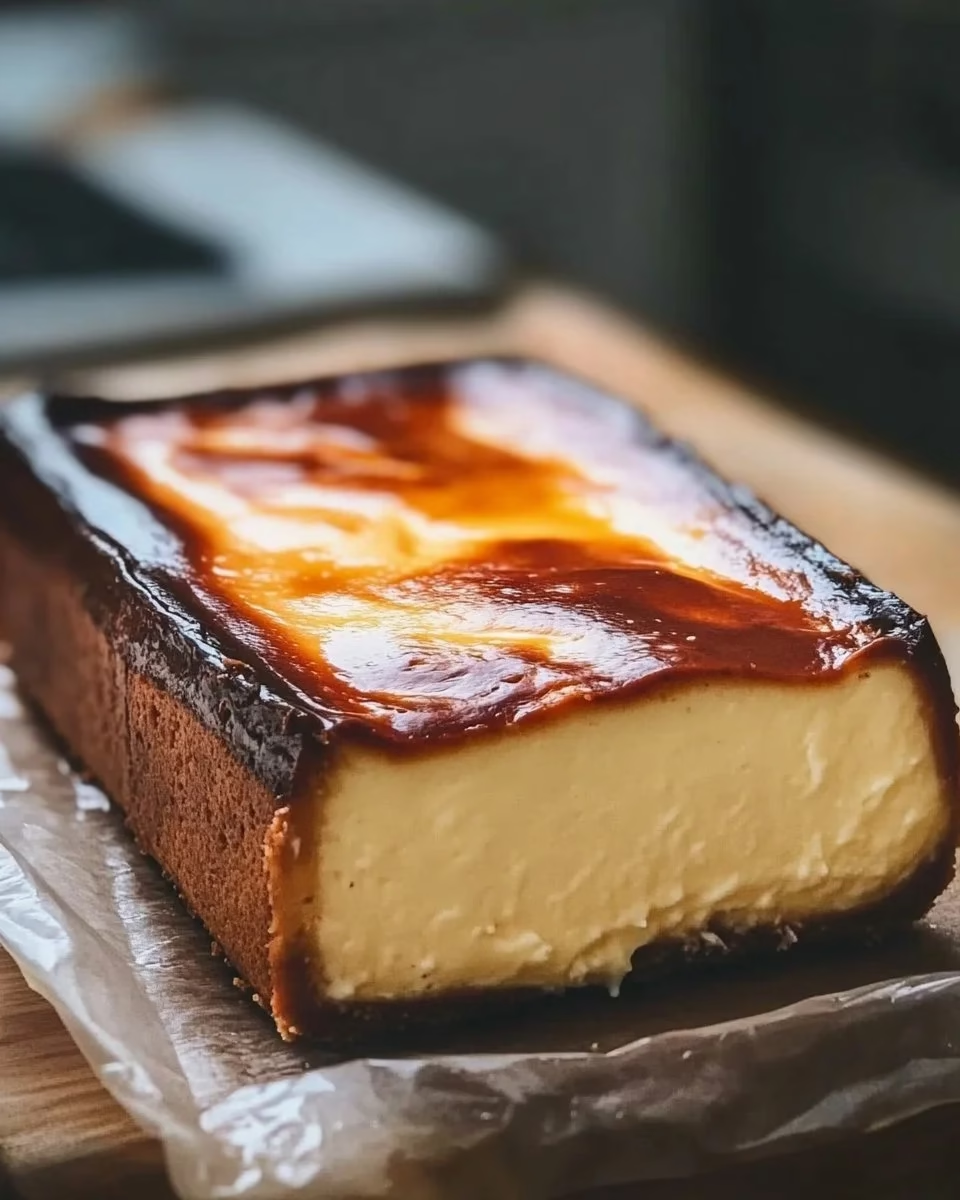
Burnt Basque Cheesecake in a Loaf Pan
Ingredients
Cheesecake Ingredients
- 1.5 cups cream cheese, softened Bring to room temperature for easier mixing.
- 0.5 cups granulated sugar
- 2 large eggs, room temperature
- 0.75 cups heavy cream Use full-fat for best texture.
- 0.5 teaspoon vanilla extract Add more for extra flavor.
- 1/8 teaspoon salt A tiny bit enhances the flavors.
- 1 tablespoon all-purpose flour Sift for a lighter texture.
Instructions
Preparation
- Preheat your oven to 400°F (200°C).
- Line a loaf pan with parchment paper, leaving an overhang for easy removal.
- In a mixing bowl, beat together the cream cheese and sugar until smooth.
- Incorporate the eggs one at a time, mixing well after each addition.
- Add heavy cream, vanilla extract, and salt; blend until smooth.
- Sift in flour and fold gently until just combined.
- Pour batter into the prepared loaf pan and tap it lightly to release air bubbles.
Baking
- Bake for 40–45 minutes until the top is golden brown and slightly jiggly in the center.
- Allow to cool at room temperature before refrigerating for at least four hours or overnight.
Serving
- Lift the loaf from the pan using the parchment overhang and slice with a warm knife.
- Serve slightly chilled or at room temperature.
Notes
Nutrition
Why This Burnt Basque Cheesecake in a Loaf Pan Means So Much
The first time I made this cheesecake, it was a small act of comfort after a busy week.
I chose a loaf pan because that shape fit our kitchen rhythm: simple, modest, and easy to slice for kids and grown ups alike.
The deep, dark top gives a bittersweet contrast to the creamy center, and that contrast always sparks conversation around our table.
It is a dessert that looks like it took more effort than it did, and that little trick feels like a secret you can share.
This cheesecake brings back the kind of memories that live in small moments.
A neighbor dropping by with flowers, my husband brewing coffee, our daughter testing the edge with her finger when no one was looking.
Those small acts are the real recipe: warmth, a slow moment, and good food that invites sharing.
Over time, this loaf became our thing to take to potlucks and to slice for a quiet afternoon tea.
There is a humble quality to a loaf pan that I love.
It makes the dessert feel approachable and homey, not showy or intimidating.
When friends ask for the recipe I always tell them it is forgiving, which helps them relax and makes cooking together more fun.
The result is always a golden, slightly burned top, a silky middle, and a flavor that settles into your memory.
The Story Behind Our Favorite Burnt Basque Cheesecake in a Loaf Pan
When I first learned about Basque cheesecake, I was drawn to its dark, caramelized top.
I wanted to make something like that but shaped like the loaves we always had for family breakfasts.
Shaping it in a loaf pan felt like a bridge between two comforts: the rustic elegance of Basque desserts and the everyday ease of a loaf.
My mother-in-law loved the idea, and now whenever she comes over she asks if there will be a slice waiting.
I think part of why this cheesecake matters is the contrast it offers.
You taste the charred sweetness, then the soft, milky center that calms the intensity.
It is a dessert for company because it invites questions, comments, and smiles.
It also fits into life in a practical way — it slices well, travels well, and keeps well.
Over the years I have made small changes, little nudges that made it mine.
A touch more cream for silkiness, a whisking technique that keeps the batter gentle, a careful line of parchment paper that helps the loaf come out in one piece.
Those are the little lessons I love to pass on, because they turn a good dessert into a reliable one.
How to Make Burnt Basque Cheesecake in a Loaf Pan
“Every time I stir this pot, it smells just like Sunday at home.”
The rhythm of making this cheesecake is quiet and steady.
You will feel the cream cheese soften and loosen as you beat it with the sugar until it becomes glossy.
The eggs add a slow silkiness, the cream brings it all together, and the tiny bit of flour gives it body.
Listen for the gentle change in sound as the mixer hums and the batter smooths out; that is when you know you are close.
Prepare your loaf pan with care and a little flourish.
Lining it with a long strip of parchment paper that overhangs makes removal simple and keeps the edges intact.
Pouring the batter in feels like pouring a promise — it puffs in the oven and softens as it cools.
When the top browns and cracks, breathe in the aroma and know you are making something that will be eaten with attention.
The bake time gives you a window to do small kitchen tasks.
Wash the bowl, set the table, or pull out pretty plates for serving.
Those small moments matter because they turn cooking into a shared experience.
When you finally slice it, the contrast between brown top and creamy center is the reward for a simple, careful process.
Ingredients You’ll Need
1 1/2 cups cream cheese, softened
1/2 cup granulated sugar
2 large eggs, room temperature
3/4 cup heavy cream
1/2 teaspoon vanilla extract (a little extra vanilla if you love a cozy aroma)
1/8 teaspoon salt
1 tablespoon all-purpose flour (freshly sifted for a lighter finish)
Each ingredient plays a role that you can almost taste as you measure it.
Cream cheese gives the body and tang, sugar tames it with sweetness, eggs hold everything together.
Heavy cream adds the silkiness that makes each bite feel like a small luxury.
A tiny bit of salt opens the flavors and the flour helps the cheesecake set without being cakey.
If you are short on an item, small substitutions can work.
A touch less cream or a little more cream cheese will change texture but keep the soul of the dessert.
When ingredients are at room temperature they blend smoothly and you avoid lumps.
That small step feels like a little kindness to your future self when the batter is perfect.
Step-by-Step Directions
Preheat your oven to 400°F (200°C).
Let the oven reach its temperature so the top browns quickly and the center stays silky.
The heat is part of the magic that creates the caramelized surface you are chasing.
Wait for the oven to sound ready, then move gently to the next steps.Line a loaf pan with parchment paper, leaving an overhang for easy removal.
Make sure the paper reaches above the rim so you can lift the cheesecake out without touching the sides.
Press the parchment into the corners and smooth the edges so the batter sits flat.
That little overhang makes serving feel effortless.In a mixing bowl, beat together the cream cheese and sugar until smooth.
Work at medium speed until the mixture becomes glossy and free of lumps.
Scrape the bowl with a spatula to make sure every bit gets folded in.
The aroma will be faintly sweet and promise-richness.Incorporate the eggs one at a time, mixing well after each addition.
Add the eggs slowly so the batter stays smooth and does not separate.
After each egg, pause and scrape the sides so everything blends evenly.
Notice the batter deepen in color and soften in texture.Add heavy cream, vanilla extract, and salt; blend until smooth.
Pour the cream steadily and let it make the batter silkier and lighter.
Add the vanilla and salt, then mix just until everything looks uniform.
Breathe in that warm, sweet scent that starts to fill your kitchen.Sift in flour and fold gently until just combined.
Use a spatula to fold the flour in so you do not knock air out of the batter.
Stop when you see no streaks of flour and the batter looks satiny.
The movement should be gentle, patient, and rhythmic.Pour batter into the prepared loaf pan and tap it lightly to release air bubbles.
Pour slowly so the batter settles evenly in the pan and reaches the corners.
Tap the pan on the counter a few times and watch small bubbles rise and pop.
This little step helps the surface bake evenly and keeps the texture creamy.Bake for 40–45 minutes until the top is golden brown and slightly jiggly in the center.
Watch for the top to turn a deep golden, almost mahogany color.
The center should still wobble like a soft pudding when you nudge the pan.
That wobble tells you the interior will be silky and not overbaked.Allow to cool at room temperature before refrigerating for at least four hours or overnight.
Cooling slowly prevents the center from cracking and helps flavors meld.
Cover it loosely and let patience do its work; the wait is a small act of care.
When you chill it, the texture will firm and the taste will deepen.When ready, lift the loaf from the pan using the parchment overhang and slice with a warm knife.
Run a knife under hot water, wipe it dry, and slice clean pieces without crumbs.
Each slice will show the deep brown top and creamy, pale inside like a small landscape.
Serve slightly chilled or at room temperature depending on how silky you like it.
Bringing Burnt Basque Cheesecake in a Loaf Pan Together
There is a moment when all the hard work turns into small goodness: when the first slice is set on a plate.
Cutting through the browned top releases a faint steam smelling of butter and caramel.
The first forkful is the best test; it should melt in your mouth, with a soft, lingering tang.
We often make a little ritual out of this part, passing slices around while someone pours coffee.
Think of the loaf as part of a quiet celebration rather than a formal dessert.
Set it on a wooden board, add a few fresh berries, or leave it plain so the caramelized top shines.
A spoon of thick jam or a small dusting of powdered sugar can be a nice touch for company.
I like to pair it with hot coffee for morning guests and with a simple tea in the afternoon.
This cheesecake is forgiving for serving sizes.
Slice it thin for a tea tray or thicker for a weekend treat.
Children love the edges where caramel meets cream, and adults often circle back for one more thin slice.
It fits into the pace of a family meal: shared, comfortable, and always disappearing faster than you expect.
Serving Burnt Basque Cheesecake in a Loaf Pan With Family Warmth
We enjoy this loaf in our house on slow Sundays and after busy weeknights.
I set a small plate in the center of the table and let everyone take their time choosing a slice.
Sometimes we add a drizzle of honey, sometimes a few fresh figs, and sometimes nothing at all.
The simplicity of the presentation lets the texture and flavor be the star.
When guests come over, I like to set the loaf beside a pot of strong coffee and a small bowl of toasted nuts.
Those little extras invite conversation and make the table feel abundant.
For a casual brunch I pair it with fruit and a bright salad so the meal feels balanced.
This recipe is also nice to bring to a friend who needs a little comfort; it travels well and arrives ready to share.
If you want a playful pairing, try serving it with a small glass of lightly sweet wine or a rich espresso.
That pairing highlights the burnt top and rounds the cheesecake’s tangy note.
For an everyday touch, a spoonful of jam on the side offers a sweet counterpoint that kids adore.
The key is to keep things relaxed so the dessert can shine without fuss.
One small practical tip I learned is to let slices sit about 10 minutes at room temperature before serving.
It wakes up the center and makes the texture tender and easy to cut.
This short wait makes a big difference when you want to taste the creaminess the way it was meant to be.
Sharing it warm or slightly chilled both have their charm, so try both ways to find your family’s favorite.
In this section I also like to remind folks that other cozy recipes make a nice spread.
If you are planning a full brunch, consider pairing this loaf with savory bites like small sausage muffins or warm breads like I often do for weekend guests.
A little sweet and a little savory balances the table beautifully and keeps everyone satisfied.
For a savory link I sometimes recommend my favorite sausage pancake muffins for a hearty contrast: sausage pancake muffins.
Storing Burnt Basque Cheesecake in a Loaf Pan for Tomorrow
This cheesecake keeps beautifully in the fridge and actually grows more cohesive overnight.
When stored, the flavors settle and the tang becomes rounder and more pronounced.
Wrap the loaf gently in plastic wrap or keep it in an airtight container to avoid absorbing other smells.
It will stay fine for up to four days if you store it carefully.
If you need to freeze slices, wrap each piece tightly and place them in a freezer bag.
Thaw in the refrigerator overnight and bring to room temperature before serving.
Freezing changes texture slightly but keeps most of the flavor intact.
For short term, a loose cover on the counter works for a couple of hours but not for more than that.
To refresh slightly stale edges, warm a slice for 10 seconds under a broiler or in a hot pan.
That brown top pops again and the center regains a touch of softness.
I do this when hosting and want the loaf to feel like it just came from the oven.
Small tricks like that make leftovers feel special.
Amelia’s Kitchen Notes
Always bring your cream cheese and eggs to room temperature for a silkier batter.
Cold ingredients fight the mixer and can leave small lumps.
Softening the cream cheese ahead of time makes the process smoother and quicker.
Use a heavy whisk or a stand mixer on medium speed to get a glossy cream cheese and sugar mix.
Scrape down the bowl often so everything combines evenly.
Gentle folding after eggs and flour ensures you keep air in the batter without overworking it.
Line your pan with a long overhang of parchment and grease the sides lightly.
That overhang is worth the small extra effort when lifting the cake out whole.
If the parchment slips, tuck a little fold into the pan corners first to help it stay put.
If the top browns too quickly, tent with foil for the last 10 minutes and continue baking.
That keeps the color without overcooking the center.
Every oven runs differently, so watch the top and the center wobble as your checks.
Try a warm knife for clean slices.
Run the knife under hot water and wipe dry between cuts.
It makes serving feel calm and tidy.
Family Variations on Burnt Basque Cheesecake in a Loaf Pan
We like to play with small changes that reframe the loaf without losing its essence.
Stir a tablespoon of lemon zest into the batter for a bright note that wakes the cream cheese.
You will be surprised how the citrus lifts the whole loaf and pairs well with berries.
Add a swirl of fruit jam in the batter before baking for a soft ribbon through each slice.
Raspberry and apricot work particularly well because they add a sweet-tart contrast to the caramel top.
Spoon small dollops and run a skewer through the batter to create delicate swirls.
For a cozy winter version, fold in a teaspoon of cinnamon and a pinch of nutmeg.
Those warm spices make the loaf feel like a seasonal treat and pair nicely with hot drinks.
Keep spices light so they support the cheesecake flavor rather than take over.
If you like a nutty finish, top the loaf with toasted almonds or hazelnuts just before serving.
They add a crunch that sings against the silky center.
Toast nuts in a dry pan until fragrant and sprinkle lightly — it is an easy way to add texture.
For a more indulgent twist, serve each slice with a spoon of caramel sauce or a drizzle of dark chocolate.
The brown top and silky center handle richer sauces well and make the dessert feel celebratory.
Keep the sauces simple so the cheesecake still sings.
FAQs About Burnt Basque Cheesecake in a Loaf Pan
Can I make this ahead of time?
Yes, and honestly, it might taste even better the next day once the flavors have settled and come together. Keep it wrapped in the fridge and bring it to room temperature before serving for the best texture.
What if my top browns too quickly?
Tent the loaf with a sheet of foil for the last 10 minutes of baking. This will slow the browning while allowing the center to finish baking gently.
Why is my center too firm?
If the center bakes until it is firm like a regular cake, the oven may have been too hot or you baked it too long. Aim for that slight jiggle in the middle at the end of baking for a creamy texture.
Can I use low fat cream cheese or light cream?
I recommend full fat cream cheese and heavy cream for the texture that makes this cheesecake special. Lower fat options will change the silkiness and mouthfeel, but the loaf will still be tasty.
How do I slice for a crowd?
Use a warm knife and make thin slices for a larger crowd. Keep the knife clean between cuts for neat pieces that look inviting on the plate.
More Sweet, Seasonal Treats You’ll Love
If cozy baking moments are your love language, there’s a whole pantry of favorites waiting for you. For easy, nostalgic treats, recipes like Marshmallow Fluff Fudge, Banana Pudding Rice Krispie Treats, and 3-Ingredient Butter Cookies are perfect for low-effort sweetness. When the holidays roll around, I always come back to classics like Ginger Molasses Christmas Cookies, Christmas Crack, Vanilla Christmas Cake Roll, and Christmas Sugar Cookie Cheesecake for that familiar, festive comfort.
You can save your favorites for later and find seasonal inspiration on my Pinterest, or come bake along with me on Facebook where I share new recipes, behind-the-scenes kitchen moments, and cozy dessert ideas year-round. However you choose to explore, I hope these sweet, seasonal recipes bring warmth, comfort, and a little everyday magic to your table.
