Sometimes a late-night test batch teaches me more than a recipe ever could: the first time I pressed my thumb into a warm, just-baked round and watched the jam settle into a glossy well, I laughed at how a small motion turned simple dough into something joyful. In that quiet kitchen light I thought about how one little technique can change texture and memory, and I kept notes. If you ever want a richer that-way chocolate twist after trying this version, I have a slow, fudgy spin you can read about at my fudgy chocolate thumbprint cookies with salted caramel, but tonight we stay with the buttery, jam-filled classics that taught me to trust my senses.
The Story Behind This Small-Batch Thumbprint Cookies
This recipe grew from a few stubborn batches and a notebook full of silly observations. I wanted something small, honest, and easy to share so I tested the dough at different stages of chilling, different sizes of indentations, and a few jam types. The goal was always the same: a cookie that feels soft in the center, slightly crisp at the edge, and shiny where the jam nestles.
There was one evening when everything clicked. The butter was softened but not greasy, the dough held its shape when rolled, and the thumbs left a neat crater that stayed full of jam during baking. That moment told me that simple tools and a careful eye beat complex tricks every time. I kept testing the timing, watched the color at the edges, and wrote down exactly how the dough behaved so you can skip the guessing.
This small-batch version is how I teach friends to bake without pressure. It is forgiving enough for beginners, but it rewards curiosity when you try different jams or small tweaks. I want the recipe to be a home for experimentation, a gentle starting place that still gives you reliable, tasty results.
The Rhythm of Making Thumbprint Cookies
“The moment the texture shifts, you know it’s ready.”
Making these cookies has a kind of simple rhythm: soften, cream, press, fill, and watch the oven do the rest. The dough moves from sandy to smooth while you mix, and that shift is the kind of quiet magic that makes you grin. Look for a soft sheen on the butter and sugar when they are creamed; that tells you air has been trapped and the cookies will lift lightly in the oven.
From there, the dough comes together into a pliable ball that is easy to roll. When you press with your thumb, the indentation should rebound slightly but still hold shape. In the oven, the cookie will spread a touch and the jam will glisten and relax into the well you made. Trust your eyes more than the clock when you first try this; color and give are better guides than time alone.
Ingredients You’ll Need
1 cup unsalted butter, softened — this adds richness without overpowering.
1 cup granulated sugar — this sweetens and helps with a light, soft texture.
1 large egg — this binds the dough and adds gentle lift.
1 teaspoon vanilla extract — this brings warm aroma and rounds the flavor.
2 cups all-purpose flour — this helps with structure and a tender bite.
1/4 teaspoon salt — this balances sweetness and brightens flavors.
1/2 cup jam or preserves (any flavor) — this gives the cookie its bright, fruity center.
I list these in a simple way because small changes matter. For example, using salted butter will alter the salt balance and the final taste, so if you choose a salted version, consider cutting the added salt slightly. The jam choice matters too: chunkier preserves can give little pockets of fruit, while smooth jam settles into a glossy pool that looks classic.
Step-by-Step Directions
-
Preheat your oven to 350°F (175°C).
Warm the oven while you work so it is steady when the cookies go in.
A consistent oven temperature helps the edges brown evenly and keeps the centers soft. -
In a large mixing bowl, cream the softened butter and sugar together until light and fluffy.
Watch for a pale, airy texture and a soft sheen on the mix, which shows enough air has been incorporated.
Scrape the bowl once so no pockets of sugar remain and the texture stays even. -
Beat in the egg and vanilla extract.
Mix until the batter looks smooth and the egg is fully blended, with no streaks left behind.
The dough should feel cohesive and slightly glossy after these additions. -
Gradually add in the flour and salt, mixing until combined.
Add the flour in two or three additions and mix just until the dough holds together with no dry flour spots.
Stop once you can press a small piece and it holds its shape but still feels soft. -
Roll the dough into small balls (about 1 inch in diameter) and place them on a baking sheet lined with parchment paper.
Keep the balls evenly spaced so they bake uniformly and the edges become gently golden.
If the dough feels too warm, chill the balls for a few minutes so they hold shape while baking. -
Using your thumb or the back of a teaspoon, make an indentation in the center of each ball.
Press firmly enough to create a well that will hold jam, but not so hard that the dough splits on the edges.
The center should feel soft but the surrounding rim should remain defined. -
Fill each indentation with a small amount of jam or preserves.
A teaspoon of jam is usually enough; too much can run over the edge while baking.
Smooth jam will settle into a glossy pool, while chunkier preserves give texture. -
Bake for 12-15 minutes or until the edges are lightly golden.
Watch the edges closely in the last few minutes; a pale gold is perfect and keeps the center tender.
The jam should look set but still shiny when you remove the sheet from the oven. -
Remove from the oven and allow to cool on a wire rack.
Let the cookies rest until they feel firm enough to lift without breaking and the jam is no longer molten.
Cooling brings the texture from hot and soft to the sweet, tender bite you want.
When I Serve Thumbprint Cookies
I like these cookies for quiet afternoons, casual get-togethers, and as a sweet thank-you. They travel well in a small tin and look charming on a simple plate. When friends come by, I often set out a few flavors at once so everyone can pick their favorite.
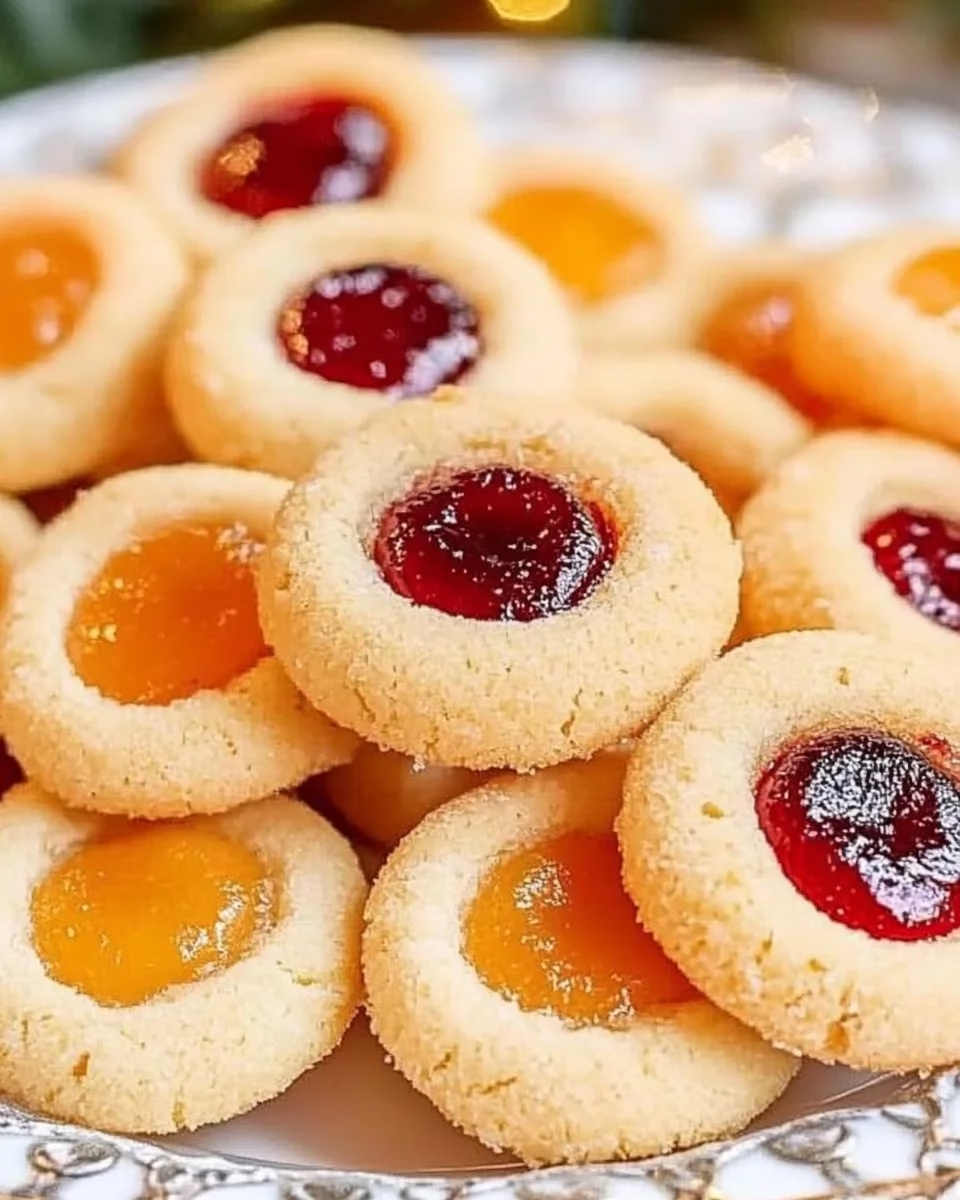
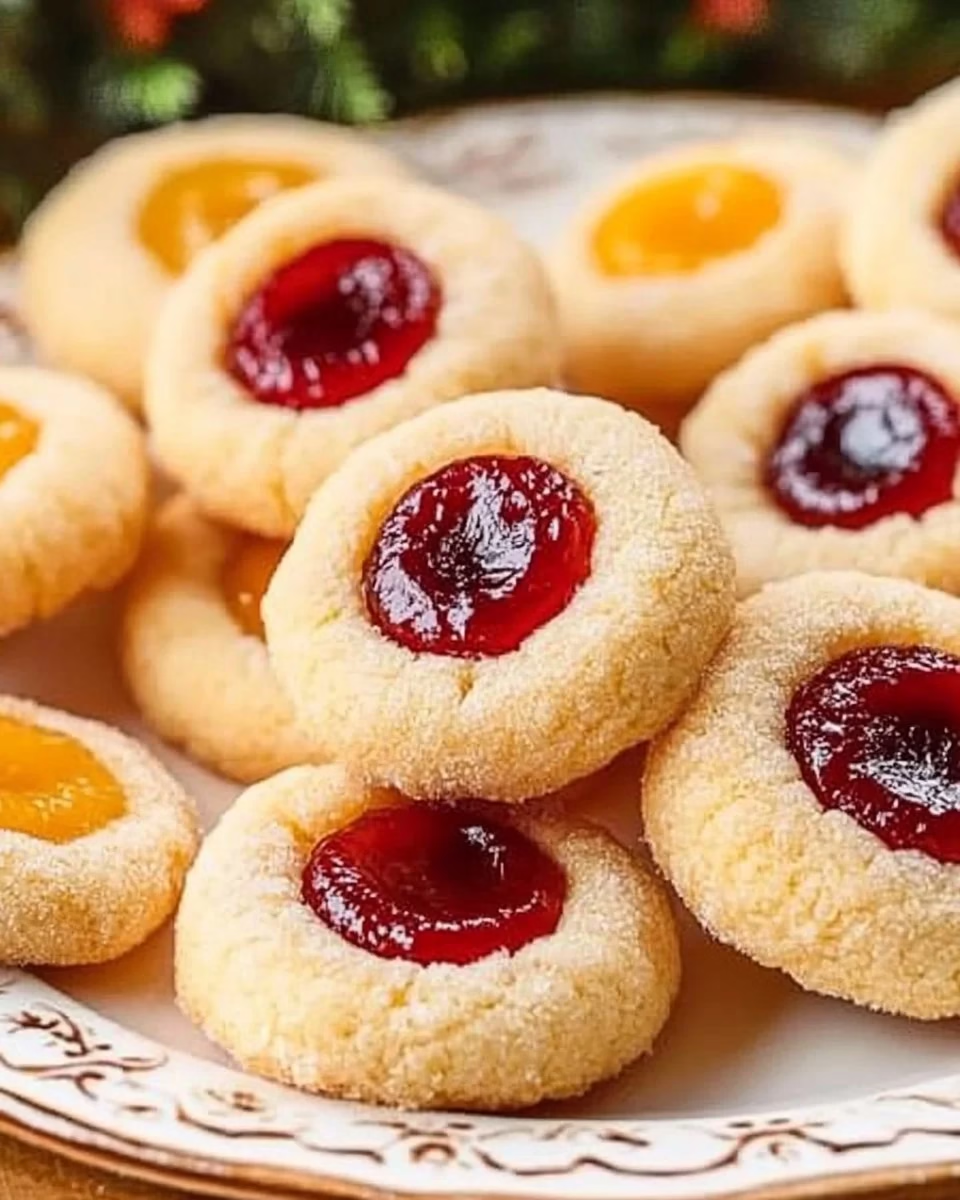
For a relaxed platter, mix raspberry, apricot, and orange marmalade for color contrast. Add a few sprigs of mint or a scattering of powdered sugar if you want a soft visual flourish. If you are hosting a small tea, arrange the cookies on a low cake stand and let conversation and baking stories flow.
If you prefer richer contrasts, try pairing these with a deeper chocolate thumbprint idea I explored separately, and you can read about that different take in this description of a fudgy chocolate thumbprint cookies with salted caramel I tested. That version is darker and denser, which makes a nice counterpoint to the light, buttery cookies here.
Keeping Thumbprint Cookies Fresh
Store cooled cookies in an airtight container at room temperature for up to five days. Place small sheets of parchment between layers to keep jam from sticking and to protect the cookie edges. If you notice a little softening after a couple of days, a brief five-minute warm-up in a low oven brings back a gentle crisp at the rim.
For longer keeping, freeze the cooled, jam-filled cookies in a single layer until firm, then transfer to an airtight container with parchment between layers for up to two months. Thaw at room temperature on the counter and give them a gentle press if the jam has settled oddly. The texture will be a touch different after freezing, but still charming and tasty.
If you want to make the dough ahead, you can chill it for up to 48 hours before rolling and shaping. Chilled dough can be a useful shortcut on a busy morning. Let it sit at room temperature a few minutes before rolling so it is easy to shape.
Carol’s Baking Notes
-
Butter temperature matters. If the butter is too soft or nearly melted, the dough becomes greasy and spreads too much in the oven. If it is too firm, you will have lumps and the creaming will be uneven. Aim for a soft but cool butter that yields under finger pressure.
-
Watch your indentation depth. A shallow well will lose its jam, and a very deep well can make the cookie too thin at the center. I found that pressing just enough to leave a marked dent that bounces back a tiny bit gives the best shape after baking.
-
Use a variety of jams to learn how they behave. Berry jams tend to stay glossy and hold their shape. Citrus preserves sometimes thin out and become looser in the heat. When testing a new jam, try a small batch first so you know how much to use.
-
Small size is forgiving. I recommend keeping the balls around one inch diameter. Smaller cookies bake quickly and maintain a pleasant balance between dough and jam. Larger cookies need longer time and can dry out at the edges before the center is ready.
-
Timing is a guide, not a rule. Oven performance varies, so I watch visual cues: edge color, the sheen on jam, and the feel when I gently nudge the baking sheet. Once you know how your oven browns, you will trust these cues and stop leaning on the clock.
Variations I’ve Tried
Jam swaps. Raspberry, apricot and fig are classic and reliable. Each jam brings a distinct brightness and texture that changes the cookie character. For a floral note, try strawberry-rose jam or a marmalade with bits of peel.
Nutty rims. Roll the dough balls lightly in finely chopped toasted almonds or pistachios before making the thumbprint. The nuts add flavor and a pleasing contrast to the soft center. Press them lightly so they stick to the dough.
Citrus and salt. Add a teaspoon of zest to the dough for a fresh citrus lift that complements fruity jams. Finish with a tiny pinch of flaky sea salt on top of the jam after baking for a grown-up sweet-salty twist.
Spiced dough. Stir a quarter teaspoon of cinnamon or cardamom into the flour for a warm, cozy note. These spices play nicely with stone fruit jams and make the cookies feel seasonal without changing the method.
Mini peanut butter cups. For a playful twist, press a small dollop of peanut butter into the well and top with a tiny spoon of jam. The contrast is nostalgic and surprisingly balanced.
FAQs About Thumbprint Cookies
Can I make this ahead of time?
Yes, the dough can rest in the fridge up to 48 hours before shaping. It actually firms up and can be easier to roll, and some people find the flavor deepens slightly after a short rest.
Can I freeze the cookies before baking?
You can freeze the shaped, unbaked cookies on a tray until solid, then store in a freezer bag for up to two months. When you bake from frozen, add a couple of minutes to the bake time and watch the edges.
What if my jam runs while baking?
If your jam is very loose, use a smaller amount in each well or try a thicker preserve. Chilling the shaped cookies briefly before baking can also help keep the jam from running as much.
How do I know when they are done?
Look for a light golden rim and a jam that is glossy but no longer bubbling. The cookie should feel tender but not doughy. A quick nudge of the pan can show slight movement that settles quickly.
Can I make these without an egg?
You can try an egg substitute for binding, such as a flax egg, but texture will shift. The egg contributes to tender structure and a bit of lift, so results will be different but still tasty if you prefer an egg-free version.
A Final Thought
I hope these Thumbprint Cookies invite a little gentle curious baking in your kitchen. They are small, forgiving, and full of chances to try a new jam or a tiny twist. Baking them felt like a conversation with the oven and the ingredients, and each batch reminded me that simple techniques become trusted ways with practice.
If you try this recipe, take notes like I do, taste as you go, and remember that texture and visual cues will teach you more than rules. I will keep testing, and I hope you bring your own small discoveries to the mix. Happy baking, and may your kitchen be bright with warm cookies and good company.
Thumbprint Cookies
Ingredients
Cookie Dough Ingredients
- 1 cup unsalted butter, softened adds richness without overpowering
- 1 cup granulated sugar sweetens and helps with a light, soft texture
- 1 large egg binds the dough and adds gentle lift
- 1 teaspoon vanilla extract brings warm aroma and rounds the flavor
- 2 cups all-purpose flour helps with structure and a tender bite
- 1/4 teaspoon salt balances sweetness and brightens flavors
Filling
- 1/2 cup jam or preserves (any flavor) gives the cookie its bright, fruity center
Instructions
Preparation
- Preheat your oven to 350°F (175°C).
- In a large mixing bowl, cream the softened butter and sugar together until light and fluffy.
- Beat in the egg and vanilla extract until the batter looks smooth.
- Gradually add in the flour and salt, mixing until combined.
- Roll the dough into small balls (about 1 inch in diameter) and place them on a baking sheet lined with parchment paper.
- Using your thumb or the back of a teaspoon, make an indentation in the center of each ball.
- Fill each indentation with a small amount of jam or preserves.
Baking
- Bake for 12-15 minutes or until the edges are lightly golden.
- Remove from the oven and allow to cool on a wire rack.