Craving cheesecake but watching your macros? Look no further! This Protein Cheesecake recipe is the perfect solution for satisfying your sweet tooth without the guilt. It’s a healthier twist on a classic dessert, packed with protein to keep you feeling full and satisfied. My family loves this recipe, and I think yours will too. It’s become a staple in our house!
This high-protein cheesecake is perfect for fitness enthusiasts, those following a high-protein diet, or anyone who wants a healthier dessert option. You might also enjoy some of our other Peach Cobbler Cheesecake recipe You’ll be amazed by how delicious and creamy it is, especially considering it’s good for you!
Why this Protein Cheesecake is special
This Protein Cheesecake isn’t your average cheesecake. It’s special because it delivers a protein punch thanks to the addition of protein powder. We’ll use a sugar substitute to keep the carbs low and the sweetness just right. Plus, a secret ingredient gives it an unbelievably creamy texture you won’t believe! If you’re curious about other types of cheesecakes, you can learn about the differences between cheesecake and French-style cheesecake here.
Ingredients
This Protein Cheesecake recipe is surprisingly simple to make with ingredients you probably already have in your pantry. Here’s what you’ll need:
For the Crust
- 1 ½ cups almond flour (or graham cracker crumbs for a traditional crust)
- ¼ cup melted coconut oil (or unsalted butter)
- 2 tablespoons sugar substitute (or granulated sugar)
- ¼ teaspoon salt
For the Filling
- 2 (8-ounce) packages cream cheese, softened
- 1 cup plain Greek yogurt (full-fat or low-fat)
- 1 cup sugar substitute (or granulated sugar)
- 2 large eggs
- 1 teaspoon vanilla extract
- 1 scoop (about 30 grams) vanilla protein powder (whey, casein, or plant-based)
- Optional: ½ cup sugar-free chocolate chips, berries, or other desired mix-ins
Equipment Needed
Before you start baking, gather the following kitchen tools. Having everything ready will make the process smoother:
- 9-inch springform pan: This type of pan is essential for cheesecakes, as it allows for easy removal. Lightly grease the bottom and sides with cooking spray or butter.
- Food processor or blender: You’ll need this to create a fine crumb crust. If you’re using graham crackers, a zip-top bag and rolling pin work too!
- Mixing bowls: Have a few on hand for preparing the crust and the filling.
- Electric mixer: A hand mixer or stand mixer will make mixing the filling a breeze, ensuring a smooth and creamy texture.
- Rubber spatula or wooden spoon: For scraping down the sides of the bowl and combining ingredients.
- Baking pan: Larger than the springform pan, for the water bath.
Instructions
Now for the fun part – making the Protein Cheesecake! Follow these steps carefully for the best results:
Making the Crust
- Preheat your oven to 350°F (175°C).
- In your food processor or blender, combine the almond flour (or graham cracker crumbs), melted coconut oil (or butter), sugar substitute (or sugar), and salt. Pulse until the mixture resembles coarse crumbs.
- Pour the crumb mixture into your prepared springform pan. Press it firmly and evenly into the bottom of the pan to create a solid crust. You can use the bottom of a measuring cup or glass to help pack it down.
- Bake the crust for 8-10 minutes, or until lightly golden. Remove from the oven and let it cool completely while you prepare the filling.
Making the Filling
- In a large mixing bowl, beat the softened cream cheese and Greek yogurt together until smooth and creamy. Make sure there are no lumps!
- Gradually add the sugar substitute (or sugar) and continue beating until well combined.
- Beat in the eggs one at a time, mixing well after each addition. Be sure not to overmix.
- Stir in the vanilla extract.
- In a separate small bowl, whisk together the protein powder and a few tablespoons of the cheesecake batter until smooth. This will prevent clumps when you add it to the main mixture.
- Gently fold the protein powder mixture into the batter until just combined. Be careful not to overmix, as this can make the cheesecake tough.
- If you’re using mix-ins like chocolate chips or berries, gently fold them in now. Looking for other delicious desserts? Check out our Churro Cheesecake recipe.
Baking and Chilling
- Wrap the bottom of your springform pan tightly with aluminum foil to prevent water from leaking in during the water bath.
- Place the springform pan in a larger baking pan. Pour hot water into the larger pan until it reaches about halfway up the sides of the springform pan. This water bath helps the cheesecake bake evenly and prevents cracks.
- Bake for 50-60 minutes, or until the cheesecake is set around the edges but still slightly jiggly in the center.
- Turn off the oven and leave the cheesecake in the oven with the door slightly ajar for another hour. This allows it to cool gradually and prevents sudden temperature changes that can cause cracks.
- Remove the cheesecake from the oven and the water bath and let it cool completely on a wire rack.
- Once cooled, cover and refrigerate for at least 4 hours, or preferably overnight, to allow it to fully set. This is the hardest part – waiting! But trust me, it’s worth it.
For more information on the benefits of protein, check out this article from Healthline.
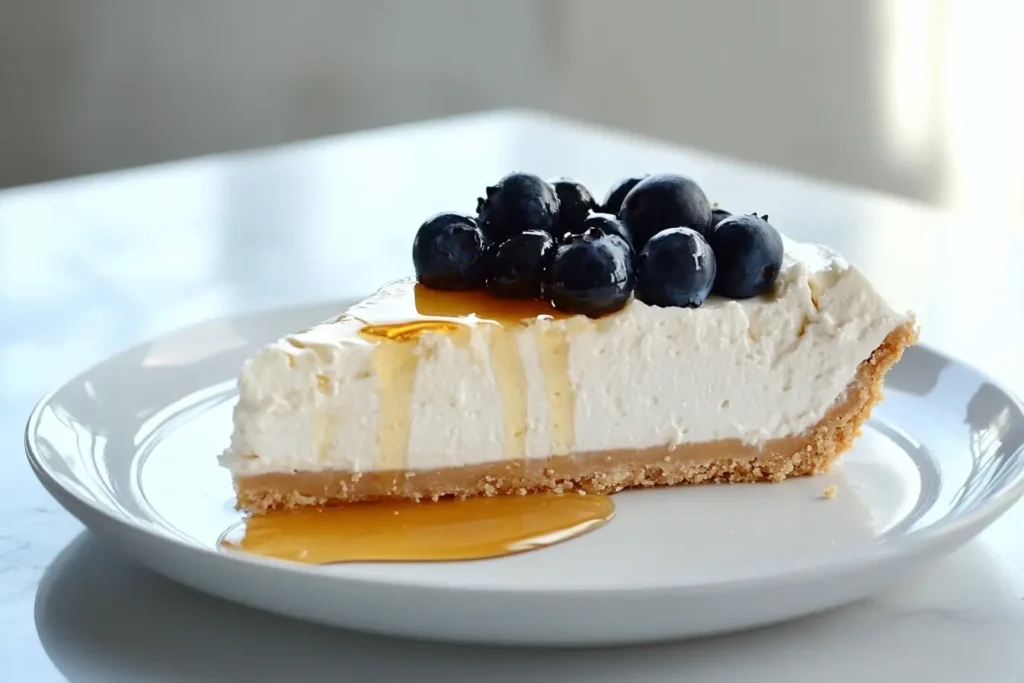
 A single slice of protein cheesecake topped with blueberries and honey.[/caption>
Tips and Variations
If you enjoy experimenting with different types of cheesecake, you might be interested in learning about the three types of cheesecake.
Here are some tips and variations to help you customize your Protein Cheesecake and achieve perfect results every time:
Flavor Variations
Get creative with your Protein Cheesecake by adding different flavors! For a chocolate lover’s dream, add ½ cup of unsweetened cocoa powder to the filling along with the protein powder. Swirl in some sugar-free chocolate syrup for an extra decadent treat. For a fruity twist, top the cheesecake with fresh berries, a sugar-free fruit compote, or a lemon zest topping. You can also add extracts like almond or peppermint to the filling for unique flavor combinations. For a delightful twist, consider adding some popular cottage cheese additions to your cheesecake.
Protein Powder Options
Different protein powders can affect the taste and texture of your cheesecake. Whey protein is a popular choice and blends in easily. Casein protein creates a slightly thicker, creamier texture. If you prefer a plant-based option, soy protein or pea protein work well, but they may slightly alter the flavor. Always start with a small amount of protein powder and taste-test before adding more. Unflavored protein powder is your best bet for avoiding any aftertaste. My personal favorite is vanilla whey protein, which complements the sweetness of the cheesecake perfectly.
Dietary Modifications
Making this Protein Cheesecake fit your dietary needs is easy! For a sugar-free version, use your favorite sugar substitute throughout the recipe. For a gluten-free crust, opt for almond flour or gluten-free graham crackers. Keeping it low-carb is simple by using almond flour and a sugar substitute. Remember to check the labels of your ingredients carefully to ensure they align with your dietary goals. If you’re looking for more healthy dessert options, consider exploring the health benefits of incorporating fruit into your diet. Healthline provides valuable insights into the nutritional value of various fruits.
Troubleshooting
Cracks: A water bath is your best defense against cracks. Cooling the cheesecake slowly in the oven also helps. If your cheesecake does crack, don’t worry! You can easily cover it with a topping.
Over-browning: If the top browns too quickly, loosely tent it with aluminum foil during baking.
Soggy crust: Ensure your crust is fully baked and cooled before adding the filling. You can also create a barrier by lightly brushing the crust with melted white chocolate before adding the filling. This helps to prevent the filling from soaking into the crust.
FAQ
Here are answers to some frequently asked questions about cheesecake and protein:
Does cheesecake have a lot of protein?
Traditional cheesecake isn’t known for being a high-protein treat. It’s mostly fat and carbs. However, this Protein Cheesecake recipe changes that! By adding protein powder, we significantly boost the protein content, making it a much more satisfying and nutritious dessert. You get the deliciousness of cheesecake with a protein boost! If you’re curious about other high-protein options, you can explore various cottage cheese recipes.
Can I substitute cream cheese for cottage cheese in cheesecake?
While some recipes use a combination of cream cheese and cottage cheese, completely substituting cream cheese with cottage cheese isn’t recommended for this Protein Cheesecake. Cottage cheese has a different texture and flavor profile, and it will result in a less creamy, denser cheesecake. For this recipe, stick with cream cheese for that classic cheesecake experience. Learn more about the benefits of cottage cheese.
Which has more protein, cream cheese or cottage cheese?
Cottage cheese is the clear winner in the protein department. It packs significantly more protein per serving compared to cream cheese. That’s why it’s often included in high-protein diets. Cream cheese, on the other hand, is higher in fat.
What to do if you don’t have enough cream cheese for cheesecake?
If you find yourself short on cream cheese, you do have a couple of options. Greek yogurt, especially the thicker kind, can be used as a partial substitute, adding a tangy twist. Mascarpone cheese is another option, offering a richer flavor. However, keep in mind that both will slightly change the final flavor of the cheesecake. Avoid using low-fat cream cheese, as it tends to make the cheesecake watery.
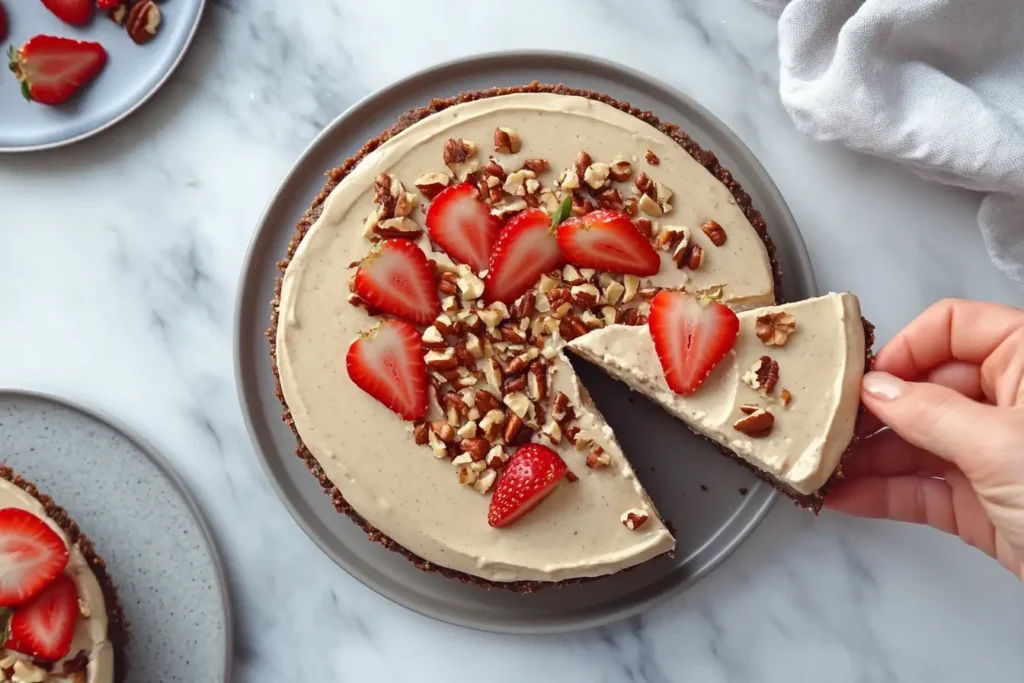
 A no-bake protein cheesecake topped with fresh strawberries and chopped nuts.
Serving and Storage
After patiently waiting for your Protein Cheesecake to chill, it’s time to enjoy the delicious results!
Serving Suggestions
This Protein Cheesecake is delicious on its own, but adding toppings takes it to the next level! Fresh berries like strawberries, blueberries, or raspberries add a burst of flavor and color. A drizzle of sugar-free chocolate syrup or caramel sauce is perfect for those who crave extra sweetness. Chopped nuts, like almonds or pecans, add a satisfying crunch. A dollop of sugar-free whipped cream is always a classic choice. You can even get creative with sugar-free jams or fruit compotes.
Storage Instructions
To keep your Protein Cheesecake fresh and delicious, store it properly. Once cooled completely, cover the springform pan tightly with plastic wrap or aluminum foil. It will keep in the refrigerator for up to 5 days. For longer storage, you can freeze individual slices. Wrap each slice tightly in plastic wrap and then place them in a freezer-safe container or bag. Frozen cheesecake slices can be thawed in the refrigerator overnight.
Conclusion
So there you have it – a delicious and healthy Protein Cheesecake recipe that’s perfect for any occasion! I hope you enjoy this guilt-free indulgence as much as my family does. It’s a great way to satisfy your sweet cravings while staying on track with your health goals. Don’t be afraid to experiment with different flavors and toppings to create your own perfect Protein Cheesecake. I’d love to hear how yours turns out! Share your creations and feedback in the comments below. Happy baking!


