In the quiet moments of a cozy afternoon, I find myself drawn to the kitchen, where the familiar hum of memories intertwines with the simple act of baking. Among the cherished recipes that have graced our family table, Gut Healing Gummies hold a special place in my heart. The gentle aroma fills the air, evoking a sense of comfort and care that lingers long after the last bite. It’s a recipe that not only nurtures the body but also brings us together, reminding us of the sweet moments shared between loved ones.
Why This Gut Healing Gummies Has Always Been a Favorite
Every recipe in my kitchen tells a story, and Gut Healing Gummies is no exception. I fondly remember the first time I made these delightful treats, surrounded by my children as they excitedly gathered around the counter. The joy of mixing, pouring, and cutting was infectious, and it became a sweet tradition to enjoy them together. Over the years, this recipe has stayed in rotation, not just for its flavor but for the connecting power of baking.
The comforting nature of Gut Healing Gummies lies in their simplicity. So often, it is the straightforward recipes that evoke nostalgia. These gummies are more than just a treat; they represent a time-honored method of sharing goodness. In a world where things can feel rushed, taking the time to create something together feels grounding. This recipe encapsulates moments of care, patience, and the love we pour into every kitchen creation.
The Gentle Process Behind It
“Some recipes just feel right the moment they come together.”
Making Gut Healing Gummies isn’t just about combining ingredients; it’s about embracing a gentle process that unfolds each step of the way. The gelatin blooms, transforming from a simple powder into a soft, wholesome mixture. This magical moment marks the beginning of something special. Watching the gelatin becoming integrated with juice evokes a sense of creativity and achievement.
As the mixture heats gently, it fills the kitchen with potential, while anticipation builds for the final product. Poured into a lightly greased pan, the aromatics slowly settle, preparing to take shape in the fridge. A little patience goes a long way in this process, allowing us to watch as time works its magic. The transformation from hot liquid to a delightful chewy treat is a reminder of how joy can come from simple processes, echoing the essence of home baking.
Ingredients You’ll Need
Gathering the ingredients simplifies the baking journey. Here is what you’ll need for your Gut Healing Gummies:
- Coconut oil (for greasing the pan)
- 4 cups of juice (divided, any juice other than pineapple)
- 8 tablespoons gelatin (Vital Proteins is my favorite brand)
Each component brings something unique to the recipe. A gentle touch of coconut oil prevents sticking, ensuring a smooth release. The juice is the heart of these gummies, contributing flavor and natural sweetness that makes each bite enjoyable. And of course, the gelatin is key, providing that familiar chewy texture we love.
Step-by-Step Directions
- Lightly grease an 8”x8” pan with coconut oil. This will ensure your gummies come out with ease after they set.
- Begin by blooming the gelatin. Place 3 cups of the juice into a wide, shallow bowl. Sprinkle the gelatin evenly over the top of the juice. Let the mixture stand for 3-5 minutes as the gelatin absorbs the juice. When you stir it up, it should look somewhat like applesauce, with no white gelatin visible.
- Meanwhile, heat the remaining 1 cup of juice in a medium-sized saucepan over medium-low heat. Watch closely to ensure it heats without boiling.
- Once the juice is hot, add the gelatin/juice mixture and stir to dissolve. You should see the mixture blend seamlessly, creating a lovely consistency.
- Carefully pour the mixture into your lightly greased pan. Take your time here, ensuring all the gelatin mixture finds its place in the pan.
- Place the pan into your fridge for at least 4-5 hours to set. As it cools, the transformation is almost magical, turning into a delightful treat.
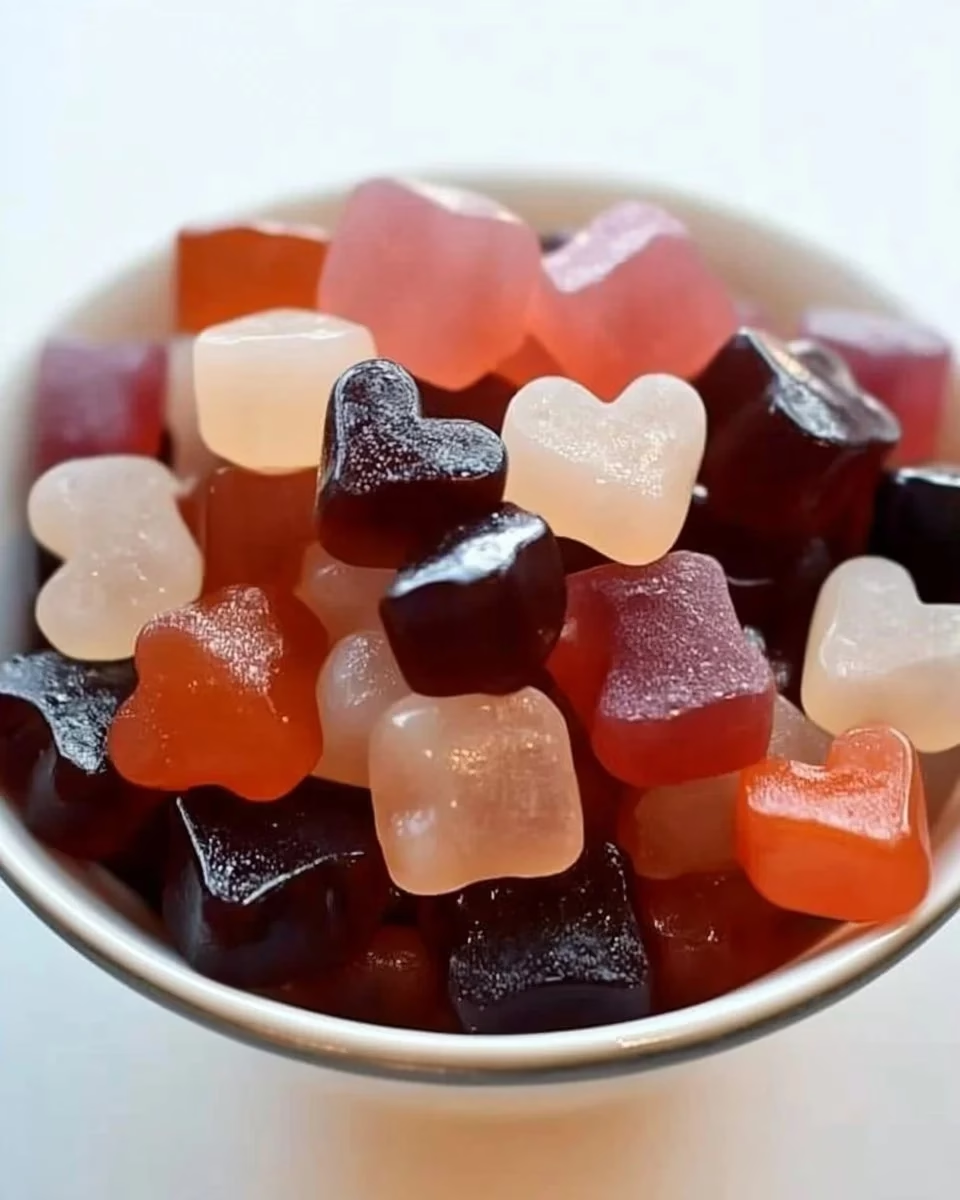
- After the gummies have set, cut into squares or any shape you prefer and enjoy these little bites of joy.
Serving Gut Healing Gummies With Care
Serving Gut Healing Gummies is a lovely experience, often bringing back fond memories for everyone who gathers around. Whether you display them on a vintage serving platter at a family gathering or tuck them away for a cozy evening snack, these treats are a beloved addition.
They pair beautifully with a cup of herbal tea or can be an excellent afternoon pick-me-up after school. When shared with family, each gummy carries with it the warmth of home and connection. The act of serving them becomes a gentle reminder of those shared experiences and the love that fills our home.
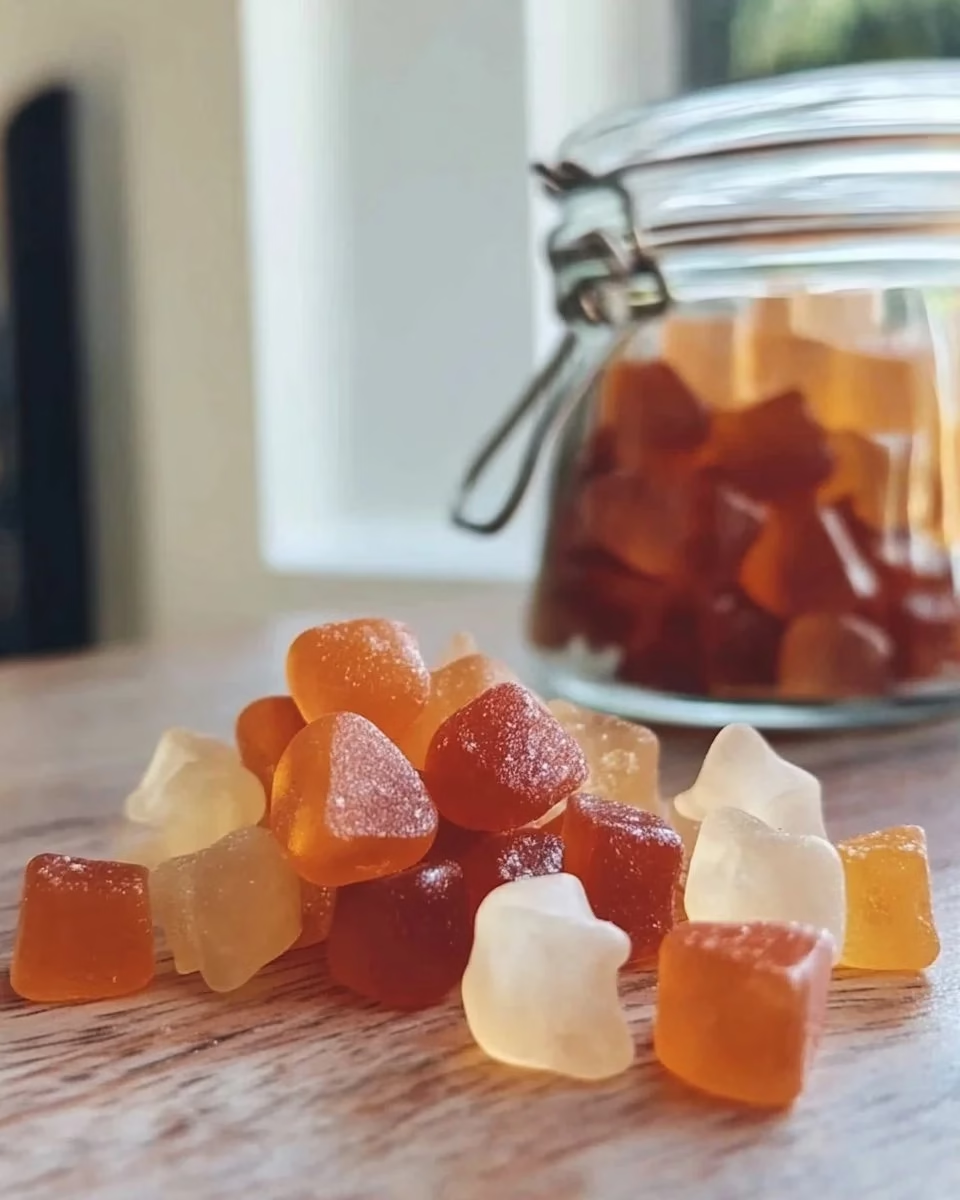
Storing Gut Healing Gummies for Later
If you happen to have leftovers, storing the gummies for later is simple. Keep them in an airtight container in the refrigerator. They stay fresh and chewy. After a day or two, you may find that the flavors settle in nicely, and the textures soften just a little, making them even more delightful.
Feel free to enjoy them over several days, savoring the little joys they bring. Remember to enjoy them chilled; that’s when they are at their best.
Mary’s Baking Notes
As a trusted friend in the kitchen, I want to share a few baking notes that might help ensure your Gut Healing Gummies turn out just right.
- Temperature Matters: Always use room temperature juice. It helps with the blooming process and ensures a smooth mixture.
- Quality Gelatin: Invest in a high-quality gelatin. Vital Proteins has become my go-to for its consistency and reliable results.
- Patience is Key: Letting the gummies set undisturbed is essential. Resist the urge to peek too early; the longer they chill, the firmer they become.
- Customizable Flavors: Feel free to experiment with different flavors of juice. Seasonal fruits can add a delightful twist to the traditional recipe.
- Cutting Techniques: Use a sharp knife to cut the gummies cleanly. A gentle touch will help maintain their perfect shape.
Family Variations on Gut Healing Gummies
Over the years, my family has added their own personal touches to Gut Healing Gummies, each making the recipe feel unique and special.
One variation I love includes adding a splash of lemon juice to the mixture for a hint of tartness. This adds a refreshing edge to the sweetness, which is always a crowd-pleaser.
Another favorite is incorporating pureed fruit into the juice, like strawberries or raspberries. The added fruit not only enhances the flavor but also gives the gummies a lovely speckled appearance.
There’s also something about using seasonal juice that can transform this recipe, making it a delightful surprise each time.
FAQs About Gut Healing Gummies
Can I make this ahead of time?
Absolutely! These gummies hold up beautifully when made in advance. They can easily be prepared a day or two ahead, allowing the flavors to develop even more.
What juices work best?
You can use any juice other than pineapple. Apple, grape, or even mixed berry juices can create wonderful flavors and aromas that elevate the gummies.
How long can I store them?
When stored properly in an airtight container, these gummies can last up to a week. However, they are best enjoyed fresh!
Can I cut them into different shapes?
Certainly! You can use cookie cutters or a knife to create fun shapes. This can be particularly delightful for children.
What if I encounter lumps in the mixture?
If you find lumps, it usually means the gelatin hasn’t fully dissolved. Simply heat the mixture gently a bit longer while stirring until smooth before pouring into the pan.
A Final Thought
As I’ve shared this recipe for Gut Healing Gummies, I hope it brings a little comfort to your kitchen, just as it has in mine over the years. Our kitchens are our sanctuaries, where we create nurturing moments wrapped in the warmth of baked goods. Here’s to the joy of making something special to share with those we love, one gummy at a time. Whether you’re enjoying them alone or passing them around the table, may each bite remind you of the power of connection and the sweetness of home.
Gut Healing Gummies
Ingredients
For the Gummies
- 4 cups juice (divided, any juice other than pineapple) Choose your favorite juice like apple or grape.
- 8 tablespoons gelatin (Vital Proteins recommended) Use high-quality gelatin for best results.
- 1 tablespoon coconut oil For greasing the pan.
Instructions
Preparation
- Lightly grease an 8”x8” pan with coconut oil.
- Place 3 cups of the juice into a wide, shallow bowl. Sprinkle the gelatin evenly over the top of the juice and let it stand for 3-5 minutes.
- Heat the remaining 1 cup of juice in a medium-sized saucepan over medium-low heat, avoiding boiling.
- Once hot, add the gelatin/juice mixture and stir until fully dissolved.
- Carefully pour the mixture into the prepared pan.
- Refrigerate for at least 4-5 hours until set.
Serving
- Cut into squares or desired shapes and serve. They are best enjoyed chilled.