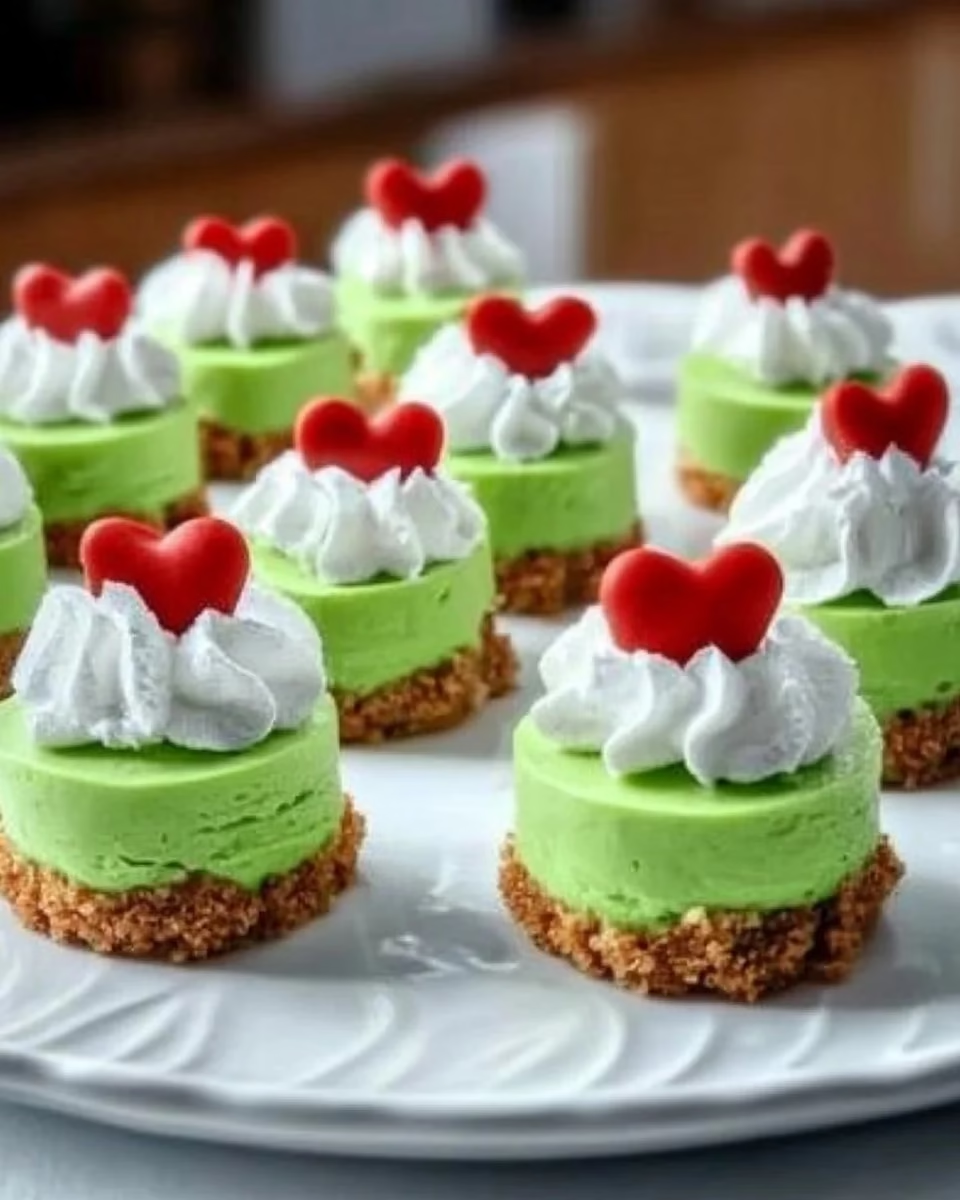
I can still smell the sugar and butter from the very first time I made these Grinch Mini Cheesecakes for a small winter gathering, a low, gentle hum in the oven and the house filled with a warm, familiar sweetness. I made a dozen that day and watched my niece toddle around the kitchen, drawn to the bright green tops and the tiny red cherries like magnets to a memory. It felt like a small act of care, the kind that keeps traditions alive, and it joined other small desserts I keep returning to, such as apple crisp mini cheesecakes, as a quiet way to share comfort with the people I love.
Why Grinch Mini Cheesecakes Feels Comforting
This recipe is small and steady in the best way. It does not ask for complicated tools or rare ingredients. It asks for a little patience, a clean bowl, and the kind of hands that have learned how to sense when a batter is just right.
I first made these on a snowy afternoon when our family plans had shifted and we found ourselves with time to fill. That day I learned how soothing it is to press crumbs into tiny cups and see the cream cheese smooth out like a soft white blanket. From then on, they became my go-to for quiet celebrations and for times when I wanted to bring something bright and a little silly to the table.
There is comfort in repetition. The steps are the same each time, and the small rituals—the gentle scrape of the spatula, the low hum of the mixer, the slow cooling on the counter—teach you the tempo of baking at home. These little cakes are like that: familiar textures, gentle sweetness, and the surprise of a festive color that makes people smile.
The Story Behind This Grinch Mini Cheesecakes
This recipe started as a way to make a classic cheesecake feel playful and a touch holiday-like without fuss. I wanted a dessert that could sit on a coffee table while conversation carried on, something small enough for second helpings and forgiving enough for a beginner to try.
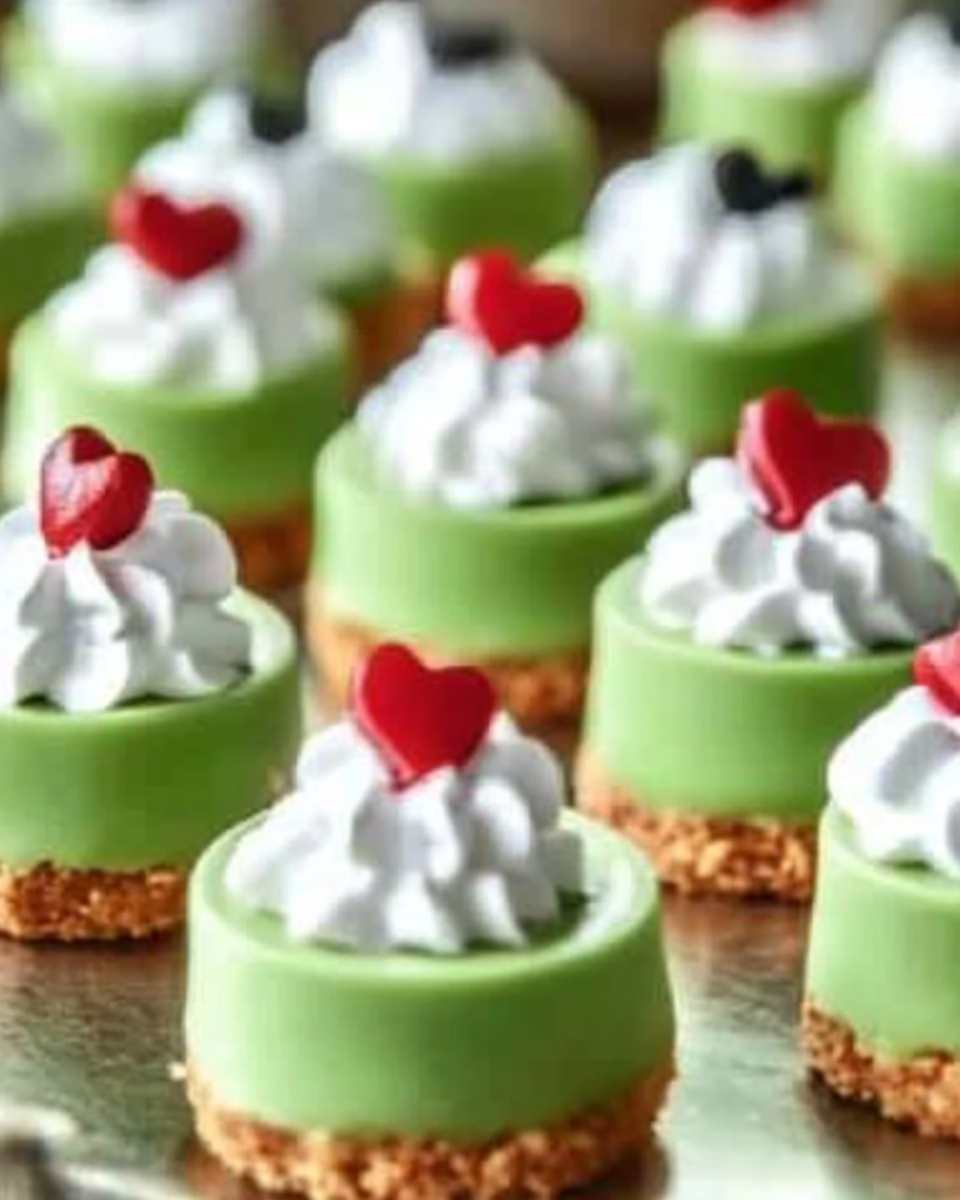
Over the years, I tinkered with the crust, settled on graham cracker crumbs for their buttery, nostalgic taste, and learned that a full cup of cream adds that satisfying richness without making the filling too heavy. The green comes from a few drops of food coloring; it is purely for the fun of it, a wink to a story many of us know and a bright pop on a winter plate.
When friends ask for a dessert that feels both homemade and a little special, I bring these. They travel well, they look festive, and they remind people of simpler things: a warm kitchen, a shared cup of coffee, a moment when someone took the time to make something by hand.
Bringing Grinch Mini Cheesecakes Together
“Some recipes just feel right the moment they come together.”
The process is gentle and forgiving. You watch for the cream cheese to smooth out without lumps and the filling to look full but not liquid. You press the crust until it holds, and you bake until the centers are just set and the edges look calm.
Work at a quiet pace. Let the cream cheese sit at room temperature long enough so it does not fight the mixer. When you add heavy cream, fold in with a slow hand or beat on low until the mixture fluffily holds a soft ribbon.
Baking these teaches you how to listen to small cues. The tops might tremble slightly when they first come out, and that tells you to let them cool. If you rush them into the fridge while they are too warm, the condensation can make the tops a touch soft. Give them time to settle, and they reward you with a clean, cool texture that slices or lifts neatly.
Ingredients You’ll Need
8 oz cream cheese, softened — room temperature helps with texture.
1/2 cup granulated sugar — this brings a simple, clean sweetness.
1 tsp vanilla extract — the small note that keeps flavors warm.
1 cup heavy cream — this adds a classic richness.
2 cups graham cracker crumbs — for a familiar, buttery crust.
1/2 cup unsalted butter, melted — binds the crust and adds depth.
Green food coloring — just enough to reach that Grinch green.
Red candy melts or cherries for decoration — a bright, cheerful contrast.
Gather these before you start. Set the cream cheese out first, measure the crumbs, and have your muffin tin lined so you can move through each step without fuss. A clear counter and a willing playlist help, but what matters most is a calm approach and a steady rhythm.
Step-by-Step Directions
-
Preheat the oven to 325°F (160°C) and line a muffin tin with paper liners.
Warmth tells the batter how to set. Make sure the oven is at temperature before you start baking so the mini cheesecakes cook evenly and shift into their gentle rise. -
In a mixing bowl, combine graham cracker crumbs and melted butter. Press the mixture into the bottom of each liner to create the crust.
Work with the back of a spoon or the bottom of a small glass to press firmly. The crust should hold together when you lift it; that little resistance means a tidy base for your filling. -
In another bowl, beat the softened cream cheese and sugar together until smooth. Add vanilla extract and heavy cream, and beat until the mixture is fluffy.
Beat slowly at first, then a little faster to avoid lumps. Taste for sweetness and smoothness; the mixture should be light, not dense, with a soft, airy feel. -
Add green food coloring until the desired color is achieved (Grinch green!).
Start with a drop or two and stir fully before adding more. You can always deepen the shade, but you cannot take color out, so go slowly and trust your eye. -
Spoon the cheesecake mixture evenly over the crusts in the muffin tin.
Fill each liner until the top is smooth and level. Tap the pan gently on the counter to settle the batter and remove any air bubbles. -
Bake for 15-20 minutes or until set. Let cool to room temperature, then refrigerate for at least 2 hours.
Watch for a slight jiggle in the center—edges should feel set and calm. Once cooled, popping these into the fridge helps them firm to a perfect, sliceable texture. -
Decorate with red candy melts or cherries before serving.
A small red dot on green is all the cheer they need. Place the decoration just before serving so it keeps its color and texture.
Serving Grinch Mini Cheesecakes With Care
These small cheesecakes feel most at home on a simple plate with a warm cup of coffee or a milky tea. I like to arrange them in a single layer on a wide platter so each little cake gets its own space. The red decoration looks happiest when the cakes are cold and still; it sits on top like a promise.
For a family gathering, I set a small bowl of extra cherries nearby and let people add what they like. Some take one and say that one is enough, others go back for two. The cakes are small enough for that second helping to feel indulgent rather than excessive.
If you are bringing them to a potluck, keep them chilled until the last moment. Line a flat carrier with a towel and nestle the tin or plate inside so the cakes do not shift. A little planning means they arrive looking as homey as when you left the kitchen.
If you prefer a no-bake option for spring gatherings, consider the lighter textures and bright flavors in a similar dish like no-bake Easter mini cheesecakes which offer the same small-plate charm with a different, cool method.
Storing Grinch Mini Cheesecakes for Later
These keep well in the fridge for up to three days. I store them in a single layer on a plate or in a shallow box with parchment between layers if I stack them. Wrapping the container tightly keeps them from taking on other flavors and keeps the tops smooth.
If you want to make them ahead, you can bake and chill them a day in advance. Bring them out of the fridge about 15 minutes before serving so the texture softens slightly and the flavors open. If they sit too long at room temperature, they will warm through and lose a little of their firm charm, so time the serving to keep that cool creaminess most evident.
You can freeze the un-decorated cakes for up to a month. Freeze on a tray until solid, then move to an airtight container with layers of parchment. Thaw in the fridge overnight and add the red decoration just before serving for the freshest look.
Mary’s Baking Notes
-
Room temperature matters. Softened cream cheese blends more easily and avoids lumps. If you forget to soften it, cut the block into small cubes and let it sit for a few minutes to speed the process.
-
Measure with care. A little too much sugar will make the filling floppy and a little too little butter will leave the crust crumbly. These small balances give you consistent results.
-
Watch the bake time. The centers should still have a slight wobble when you remove them. They finish firming as they cool, and that pause makes the texture right.
-
Go slow with color. It takes time to reach a shade that pleases the eye. A tiny bit of food coloring goes a long way, and you can always darken but never lighten once it is mixed.
-
Be kind to the crust. Pressing it evenly and firmly makes a neat base and helps the cakes lift from the liners without losing their shape.
Family Variations on Grinch Mini Cheesecakes
Sometimes I fold a spoonful of lemon curd into the filling for a sunny note that cuts through the richness. It brightens the flavor and pairs nicely with the buttery crust.
For a nutty touch, swap half of the graham crumbs for finely chopped pecans or walnuts. The texture changes in a comforting way and brings a little toasted warmth to each bite.
If you want a chocolate edge, press in a few chocolate cookie crumbs with the graham crackers, or sprinkle a few mini chocolate chips into the filling before baking. The chocolate is familiar and homey, and children in my family always reach for that version first.
For a seasonal spin, top them with candied cranberries or a thin sliver of candied orange for winter gatherings. The colors feel festive and the small tartness balances the creamy filling.
FAQs About Grinch Mini Cheesecakes
Can I make this ahead of time?
Yes, and it often holds up beautifully, especially when stored properly and allowed to rest overnight. Make them a day ahead, keep them chilled, and add the decorations just before serving for the best presentation.
What if my filling is lumpy?
Lumps usually mean the cream cheese was not soft enough or the mixer ran too fast at the start. Soften the cream cheese longer next time, scrape the sides of the bowl well, and beat on low until the texture smooths out. A quick strain through a fine mesh is a last resort for stubborn lumps.
How do I know when they are done?
They are done when the edges look set and the center has a gentle wobble. If the center is liquid or runs, bake a few minutes longer. A small jiggle in the middle is normal and will give you the right, creamy texture after cooling.
Can I make them without food coloring?
Absolutely. The taste is the same without color, and a plain mini cheesecake can be just as lovely topped with a cherry or a sprinkle of zest. The green is only for a festive touch and does not change the flavor.
How should I transport them?
Keep them chilled in a sturdy box with a towel under the container to prevent sliding. If the trip is long, place an ice pack in the carrier but not touching the cakes directly, and decorate after you arrive if possible.
A Final Thought
I hope these Grinch Mini Cheesecakes bring a soft, steady comfort to your kitchen the way they have to mine. Baking is a way of passing care along, one small cake at a time, and that is what I love about this recipe. Take your time, enjoy the little rituals, and remember that a simple dessert shared with people you care about can become a bright and gentle tradition.
Grinch Mini Cheesecakes
Ingredients
For the Crust
- 2 cups graham cracker crumbs For a familiar, buttery crust.
- 1/2 cup unsalted butter, melted Binds the crust and adds depth.
For the Cheesecake Filling
- 8 oz cream cheese, softened Room temperature helps with texture.
- 1/2 cup granulated sugar This brings a simple, clean sweetness.
- 1 tsp vanilla extract The small note that keeps flavors warm.
- 1 cup heavy cream Adds classic richness.
For Decoration
Instructions
Preparation
- Preheat the oven to 325°F (160°C) and line a muffin tin with paper liners.
- In a mixing bowl, combine graham cracker crumbs and melted butter. Press the mixture into the bottom of each liner to create the crust.
- In another bowl, beat the softened cream cheese and sugar together until smooth. Add vanilla extract and heavy cream, and beat until the mixture is fluffy.
- Add green food coloring until the desired Grinch green color is achieved.
- Spoon the cheesecake mixture evenly over the crusts in the muffin tin.
Baking
- Bake for 15-20 minutes or until set. Let cool to room temperature, then refrigerate for at least 2 hours.
Decorating
- Decorate with red candy melts or cherries before serving.