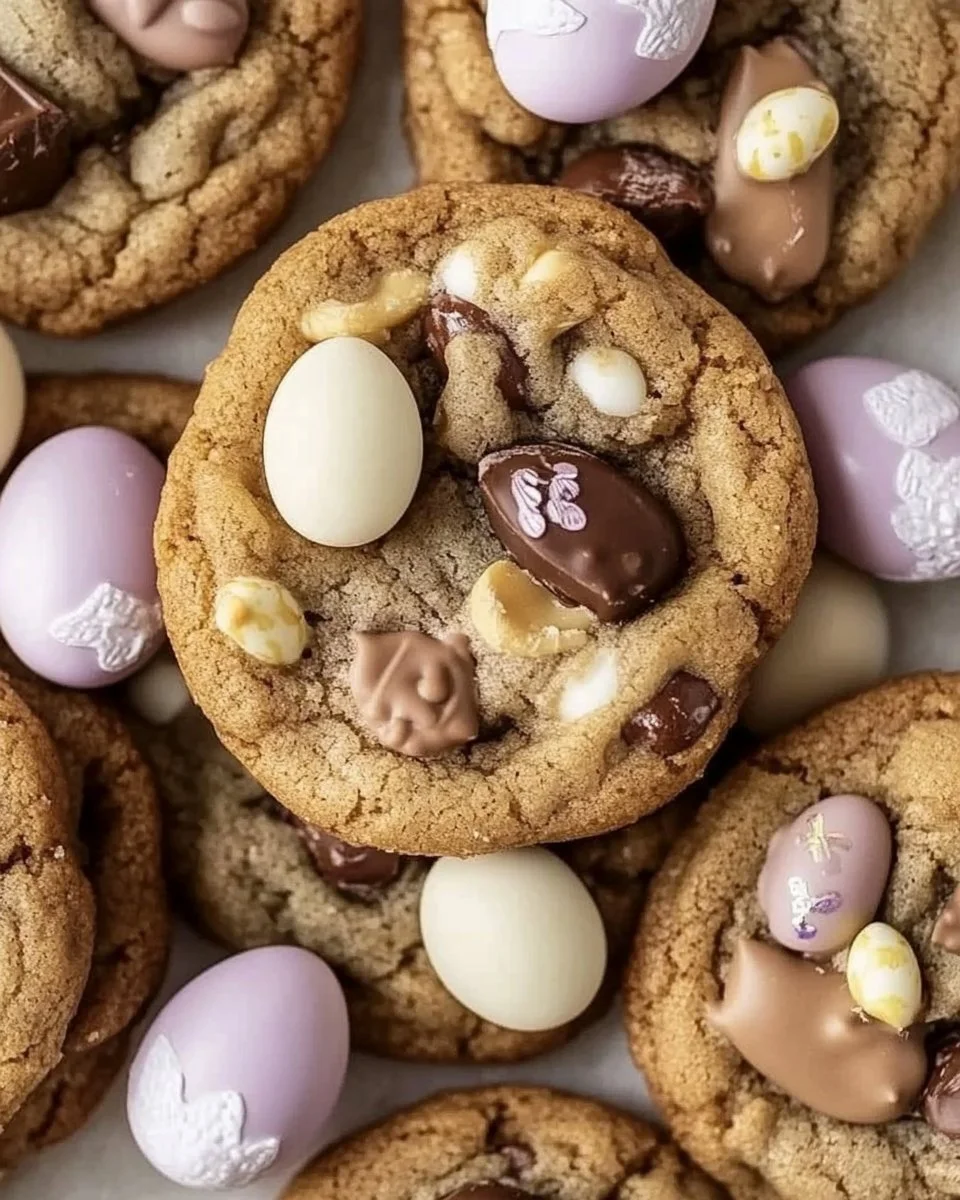
I pulled a warm tray from the oven and the kitchen filled with that soft, chocolate-and-butter scent that makes you want to taste right away. The top had tiny crinkles and a glossy patch where melted chocolate pooled, and I remembered the small thrill when a recipe finally folds into something that feels like a memory in the making. If you like chunky, comforting cookies that invite tinkering, you might also enjoy my notes on thick chocolate chunk cookies and why they sing, which is where some of these texture ideas began.
Why This Easter Chocolate Cookies Became a Favorite
I tested this little small-batch cookie many times until each bite felt balanced between chew and melt. It started as an experiment with leftover chocolate and holiday minis, and slowly found its rhythm through small changes to butter, sugar, and timing. The moment the dough held its shape but still felt soft under your fingers, I knew it would be a keeper.
Making cookies can feel like a small, friendly mystery; you nudge one thing and the texture shifts in a clear way. That playful curiosity is exactly why this recipe became part of my weeknight rotation. It gives you room to learn without risking a whole tub of ingredients.
I love sharing recipes that invite a little experimentation while still being dependable in a busy kitchen. This version was tested in real conditions, with a few messy trays and happy tasters, so it is forgiving and honest.
The Story Behind This Small-Batch Easter Chocolate Cookies
The idea began with unexpected chocolate bits and a handful of mini bunnies that begged to be baked into something cozy. I wanted a cookie where the chocolate meant more than just a scatter of chips; it needed to melt into warm pockets and give each bite a soft, gooey moment. Testing revealed that smaller batches help you keep better control of how the dough behaves, and they let you tweak things without waste.
Once the balance of sugars and egg was right, the cookies developed a thin crackled surface with a tender center. That is the kind of result I tell friends about—simple to make but delightful to discover. Small-batch testing also means you can try a swap or two and still have an evening treat.
Each test batch taught me something subtle: how long to chill for structure, how vigorous to cream the butter and sugars, and how to watch the edges for that golden hint of doneness. Those are the kitchen moments I love to pass along.
The Rhythm of Making Easter Chocolate Cookies
“The moment the texture shifts, you know it’s ready.”
Start by creaming the butter and sugars until the mixture looks smooth and just a touch glossy. Watch for that soft sheen, which tells you the sugars have dissolved enough to give shine and bite. Once you add the egg and yolk, the batter will loosen and look richer; that is your cue to slow down and fold in the flour gently.
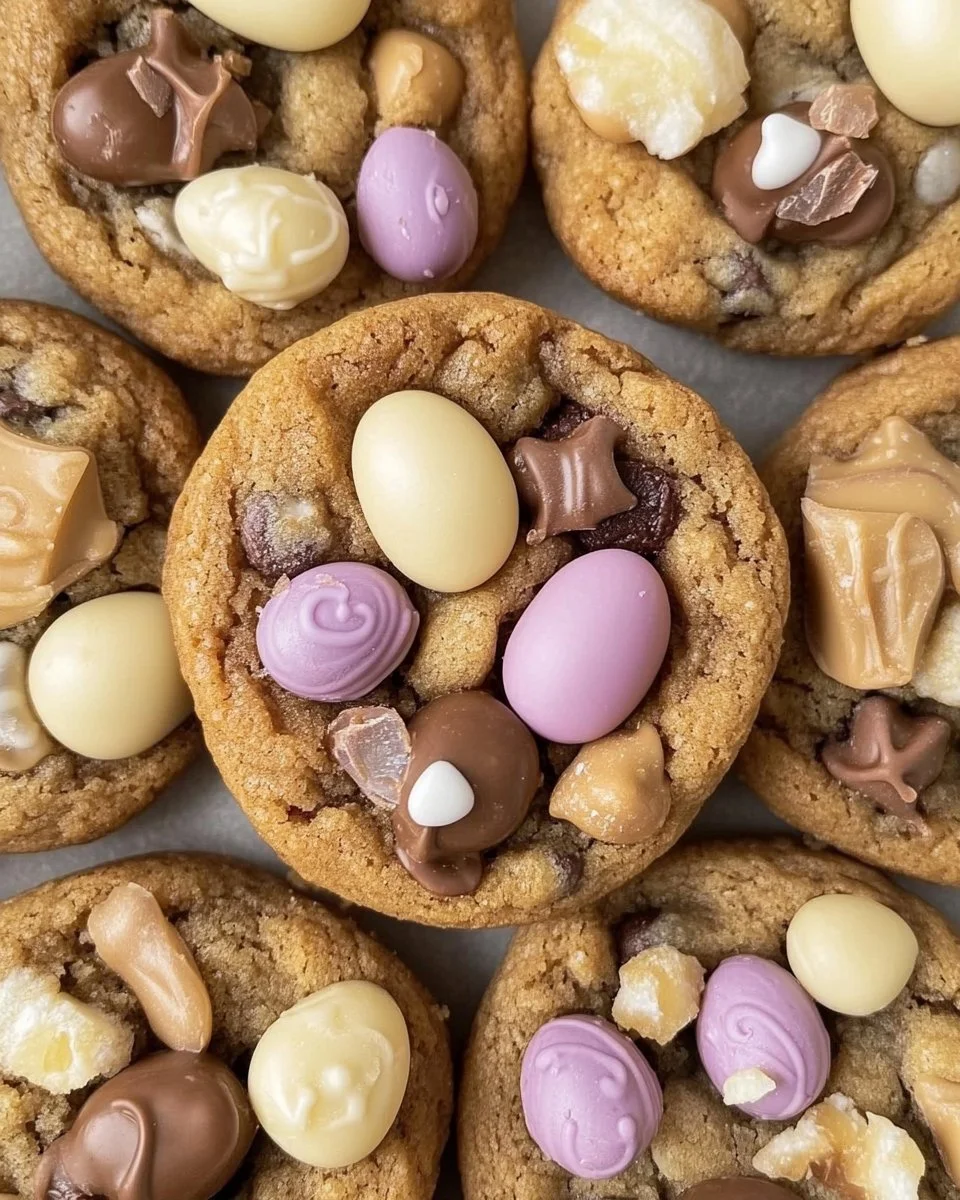
From there, add the chocolate and minis so they tuck into the dough without overworking it. The dough should feel soft but manageable, with little pockets of chocolate that peek through. When you scoop them, watch how the tops flatten slightly; that gentle settling helps the cookies bake into a tender center with slightly crisp edges.
When the cookies are in the oven you will see the edges take a light golden color, and the centers will still look a bit underdone. That underdone look is good; it signals a soft interior that will finish setting as they cool. Leave them on the tray for a few minutes before moving them, and you will enjoy the texture you aimed for.
Ingredients You’ll Need
160 g Unsalted butter — room temperature is best, this helps with structure and creaming.
100 g White caster sugar — gives sweetness and a light bite that balances brown sugar.
150 g Light brown sugar — adds moisture and a gentle caramel note without overpowering.
1 medium Egg (at room temperature) — helps bind the dough and gives lift.
1 medium Egg yolk (at room temperature) — adds richness and keeps the center tender.
1 tsp Vanilla extract — rounds flavors and brings warmth to the chocolate.
280 g Self-raising flour — provides the light rise and texture I want in a small-batch cookie.
0.5 tsp Salt — balances sweetness and enhances the chocolate notes.
200 g Chocolate (either milk, white or a mix of both) — chopped or in chunks, this adds melty pockets and contrast.
12 Mini Malteser Bunnies (either milk, white or a mix of both) — fun texture and crunch when included.
12 Mini Eggs (roughly one sharing bag ) — these add color and a playful surprise in each cookie.
Step-by-Step Directions
-
Start by making the cookie dough.
Cream the room temperature butter with both sugars until the mix looks glossy and smooth, about three to five minutes using a hand or stand mixer on medium. Add the whole egg and egg yolk, then the vanilla, and beat until the batter looks cohesive and slightly glossy. Fold in the self-raising flour and salt just until no dry streaks remain, watching for a soft, slightly sticky dough that holds its shape. -
Roll and bake the cookies.
Divide the dough into roughly twelve even portions and roll each into a ball, tucking in small pieces of chocolate and a few minis as you go to create little pockets. Press the tops slightly so they will spread evenly, then bake at a moderate temperature until the edges turn just golden and the centers still look soft, about 10 to 12 minutes depending on your oven. Let the cookies rest on the baking sheet for five minutes so they finish setting, then move to a wire rack and admire the glossy chocolate pockets and soft centers before serving.
How This Dessert Is Meant to Be Enjoyed
These cookies feel right for an afternoon when you crave something warm and handheld, and for the kind of sharing that does not need fuss. Bring a small plate to a friend, tuck a couple into a lunch box, or lay them out on a napkin for a casual Easter tea. They are forgiving to serve; they look cozy whether you pair them with milk, coffee, or a simple fruit plate.
Plating is relaxed here. Pile a few on a rustic plate, scatter a few mini eggs around the edge, and let the cookies do the talking. If you are serving guests, warm them for a minute if they have cooled completely. The melty chocolate and warmed aroma make a simple scene feel like a celebration.
For a quieter night, nibble one while it is still a little warm and notice how the center keeps its softness. Those small moments are the ones I like to bottle up and share with friends.
Keeping Easter Chocolate Cookies Fresh
Store cooled cookies in an airtight container at room temperature for up to three days to preserve a soft center. If you want them to stay a touch softer, add a slice of bread to the container; it gives gentle moisture without making them soggy. For longer storage, freeze the dough balls on a tray and then transfer them to a freezer bag; bake from frozen, adding a couple minutes to the bake time.
Texture will change over time, moving from a soft center to a firmer bite after a day or two. That is not a failure; it is just how starches settle. A quick ten-second zap in the microwave brings back a fresh feel and melts chocolate for a satisfying moment.
If minis are very crunchy and you want them softer, wrap the cookies briefly with a damp paper towel and warm slightly. That little trick relaxes any stubborn crunch without losing the cookie’s structure.
Carol’s Baking Notes
-
Sugar balance matters more than you might think.
I found that the mix of white caster and light brown sugar gives a gentle chew and caramel warmth. Too much brown sugar makes the dough very soft and spreads a lot; too little leaves a dryer crumb. This ratio hits the sweet spot for a tender center. -
Room temperature eggs and butter are not negotiable.
When ingredients are similar in temperature the dough comes together more predictably and you get a shinier, more cohesive batter. Cold butter makes the creaming uneven and can lead to a dense cookie that will not develop the desired crackle. -
Watch the oven, not the clock.
Every oven is a little different, and the magic moment is visual. When edges are golden and centers still look slightly underdone, take them out. They will finish setting while they cool and keep that soft center that makes the cookie special. -
Folding gently keeps pockets of melted chocolate.
If you overwork the dough the chocolate melts into a dull smear and the cookies lose that delightful pocket texture. Fold in chips and minis at the last moment so they stay distinct and playful in each bite. -
Small-batch testing saves your evening.
I tested this as a half-batch many times to learn how long to chill and how much the minis affect spread. Small batches let you try one tweak at a time and avoid wasting ingredients when you are experimenting.
Variations I’ve Tried
Swap some chocolate types and notice how the flavor shifts from creamy to more caramelized. Using mostly white chocolate gives a sweeter, mellow cookie that pairs beautifully with the malty crunch of the bunnies. Mixing milk and white in different ratios changes the overall sweetness and mouthfeel.
If you like a subtle bitter note, swap half the milk chocolate for a higher cocoa content chocolate. The contrast makes the brown sugar sing and the minis feel like a bright, sweet surprise. I also like adding a pinch of cinnamon for a warm backdrop that plays with the vanilla.
For a textural twist, press a whole mini egg into the center of each dough ball before baking so it becomes a decorative crown. You can also chop the Malteser Bunnies into halves for more even distribution of the crunchy malt centers.
If you are curious about wider cookie techniques and how chunk size affects structure, I have notes in my post about chocolate chip and Biscoff cookie experiments that you might find helpful when experimenting with mix-ins.
FAQs About Easter Chocolate Cookies
Can I make this ahead of time?
Yes, and in some cases it actually sets better after resting, especially once the texture has fully settled. Chill the dough overnight for a firmer shape and deeper flavor, then scoop and bake when you are ready.
Can I freeze the dough or baked cookies?
Both work well. Freeze scooped dough balls on a tray and then bag them for later baking. For baked cookies, flash-freeze and then store in an airtight container; thaw at room temperature or warm briefly before serving.
What if my cookies spread too much?
Chill the dough briefly before baking to firm the butter and reduce spread. Also check your oven temperature; a cooler oven can cause extended spread before setting.
How do I keep the centers soft?
Take the cookies out while the centers still look a touch underbaked. They set as they cool and keep a tender interior. Do not overbake in pursuit of color.
Can I substitute flour?
Self-raising flour gives a predictable lift here. If using plain flour, add about 1.5 teaspoons of baking powder to approximate the rise and texture.
Ways to Make It Your Own
If you enjoy a little salt, sprinkle a pinch of flaky salt on top of each cookie right after they come from the oven. The contrast brightens the chocolate and makes every bite sing. It is a simple touch that feels deliberate and friendly.
Make mini sandwiches by adding a smear of chocolate ganache between two cooled cookies for a playful bite. Or press a few extra mini eggs into half of the cookies for a festive plate that feels intentionally made.
Try different sugars or butter types if you want to experiment, but change one element at a time so you can recognize the effect. That is how I tinker in my kitchen: gentle shifts, honest notes, and a plate of cookies ready to taste.
A Final Thought
I hope these Easter Chocolate Cookies inspire a small act of kitchen curiosity and the kind of baking that feels like visiting a friend. Try the little swaps, watch the textures with a curious eye, and trust that a cozy, chocolate-filled cookie is worth the handful of minutes it takes to make. I will be making these again the next time I have a few minis left, and I hope you find as much joy in the tucking and tasting as I do.
Easter Chocolate Cookies
Ingredients
Cookie Base
- 160 g Unsalted butter Room temperature is best, this helps with structure and creaming.
- 100 g White caster sugar Gives sweetness and a light bite that balances brown sugar.
- 150 g Light brown sugar Adds moisture and a gentle caramel note without overpowering.
- 1 whole Medium Egg At room temperature; helps bind the dough and gives lift.
- 1 medium Egg yolk At room temperature; adds richness and keeps the center tender.
- 1 tsp Vanilla extract Rounds flavors and brings warmth to the chocolate.
- 280 g Self-raising flour Provides the light rise and texture in a small-batch cookie.
- 0.5 tsp Salt Balances sweetness and enhances the chocolate notes.
Mix-ins
- 200 g Chocolate Chopped or in chunks, either milk, white, or a mix of both.
- 12 pcs Mini Malteser Bunnies Adds fun texture and crunch.
- 12 pcs Mini Eggs Adds color and a playful surprise.
Instructions
Prepare the Cookie Dough
- Cream the room temperature butter with both sugars until the mixture looks glossy and smooth, about three to five minutes using a hand or stand mixer on medium.
- Add the whole egg and egg yolk, then the vanilla, and beat until the batter looks cohesive and slightly glossy.
- Fold in the self-raising flour and salt just until no dry streaks remain, watching for a soft, slightly sticky dough that holds its shape.
Roll and Bake the Cookies
- Divide the dough into roughly twelve even portions and roll each into a ball, tucking in small pieces of chocolate and a few minis as you go.
- Press the tops slightly so they will spread evenly, then bake at a moderate temperature until the edges turn just golden and the centers still look soft, about 10 to 12 minutes depending on your oven.
- Let the cookies rest on the baking sheet for five minutes so they finish setting, then move to a wire rack before serving.
