The kitchen smelled like quiet afternoons, warm cocoa, and the kind of patient stirring that slows time. I remember standing at the counter with a small apron tied and my hands dusted in flour, filling little paper cups with batter that promised comfort. There is a gentle joy in the ritual of making Cream-Filled Chocolate Cupcakes, a ritual that always brings people together around a table. Sometimes I bake them for no reason at all, just to have a familiar treat with a cup of tea, and other times I tuck them into a box to brighten a neighbor’s day or a child’s lunch, the soft cream hiding like a pleasant secret at the center. If you enjoy classic pairings, you might also like my notes on a richer sibling recipe such as chocolate espresso cupcakes with salted caramel buttercream, which leans into deep flavor while keeping the same homey feeling.
The Story Behind These Cream-Filled Chocolate Cupcakes
This recipe has been in my kitchen for years because it folds memory into every bite. When I first made these, it was for a simple Sunday tea with friends who appreciated a good cake and good conversation. I wanted something that was easy to make, reliable in the oven, and tender enough to cradle a soft cream center without becoming a mess.
What kept me coming back was how the texture behaved. The cake is modest and forgiving. It does not demand perfect timing or special tools. It rewards patience with a crumb that is moist and chocolatey, and the whipped cream center gives an airy contrast that feels like a small celebration. Over time, it became the one I reach for when I want to offer comfort without fuss.
These cupcakes are not flashy. They are a steady presence at family gatherings, afternoon visits, and quiet evenings when someone needs a little sweetness. They remind me that baking is often about the quiet work of care, of measuring and waiting, of smelling the oven and knowing that something good is near.
What Makes Them So Reliable
There is a reason this recipe feels dependable. It leans on familiar ingredients and simple chemistry. Baking soda and baking powder work together gently to lift the batter. The boiling water loosens the cocoa and brings a glossy, even batter that bakes into a tender crumb. Egg and oil keep the texture soft and lasting, and the sugars give a warm, rounded sweetness.
Another part of the reliability is the process itself. I take my time to mix without overworking, to watch for small signs like set tops and springy centers. Those little cues tell you when they are done better than any timer can. If you follow them with care, you will end up with cupcakes that behave kindly when you cut a hole for cream.
When you make these for the first time, give yourself space and patience. Baking is as much about mood as it is about measurements. Move slowly, breathe, and know that these simple steps lead to a result worth the gentle attentions.
Bringing Cream-Filled Chocolate Cupcakes Together
“Some recipes just feel right the moment they come together.”
Begin with calm work. I set my ingredients out, wipe a space for mixing, and let the kettle come to a slow boil for the water that will marry the cocoa. You will notice the batter looking glossy when the boiling water is folded in. That is a reassuring sign that it will keep moisture and develop a soft crumb.
When the cupcakes leave the oven, watch the edges for a tiny pull away from the paper, and touch the center lightly with a fingertip. It should spring back. When cooled, the tops should feel set and not gummy. From there you can proceed to the filling, which is quick and tender when the cream is cold and the bowl is chilled.
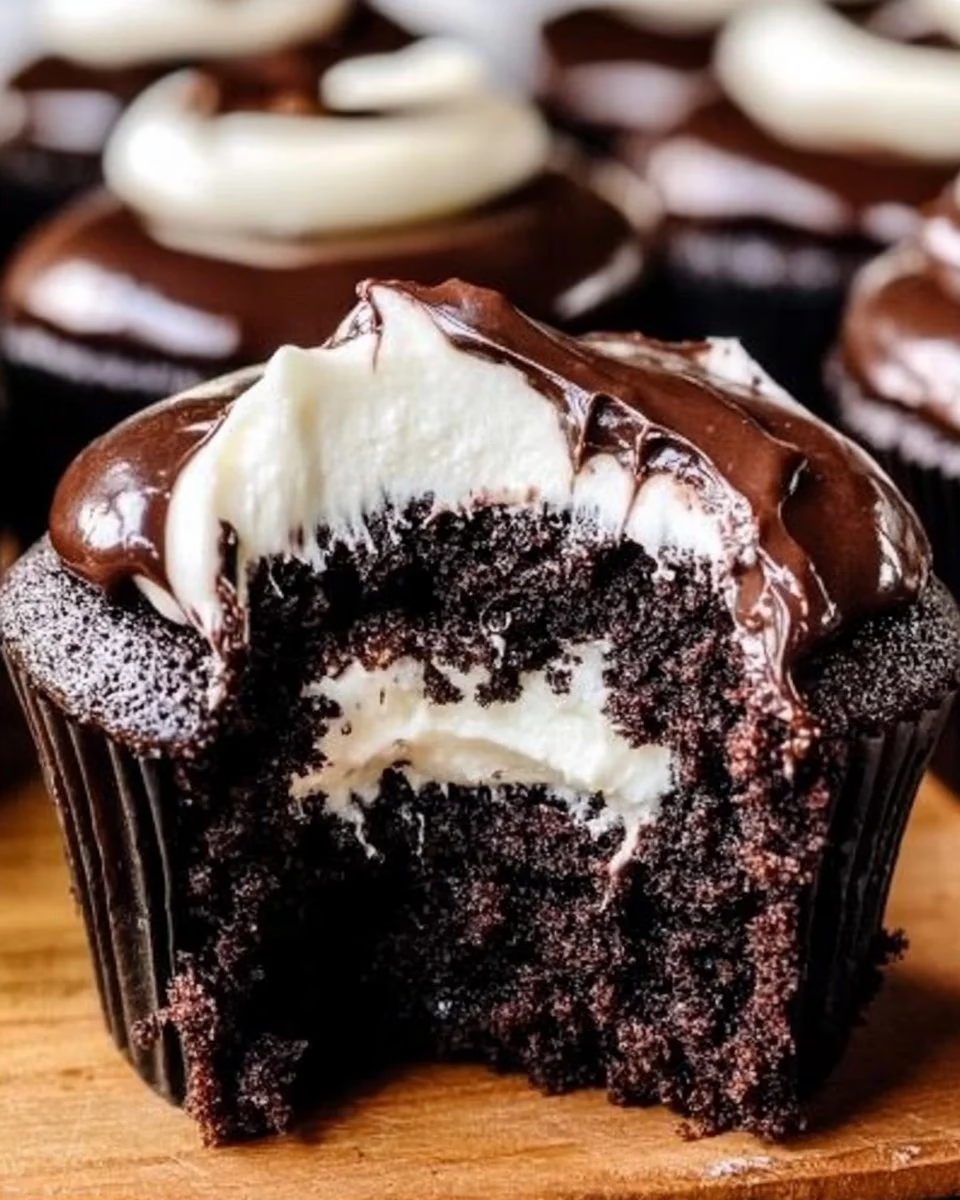
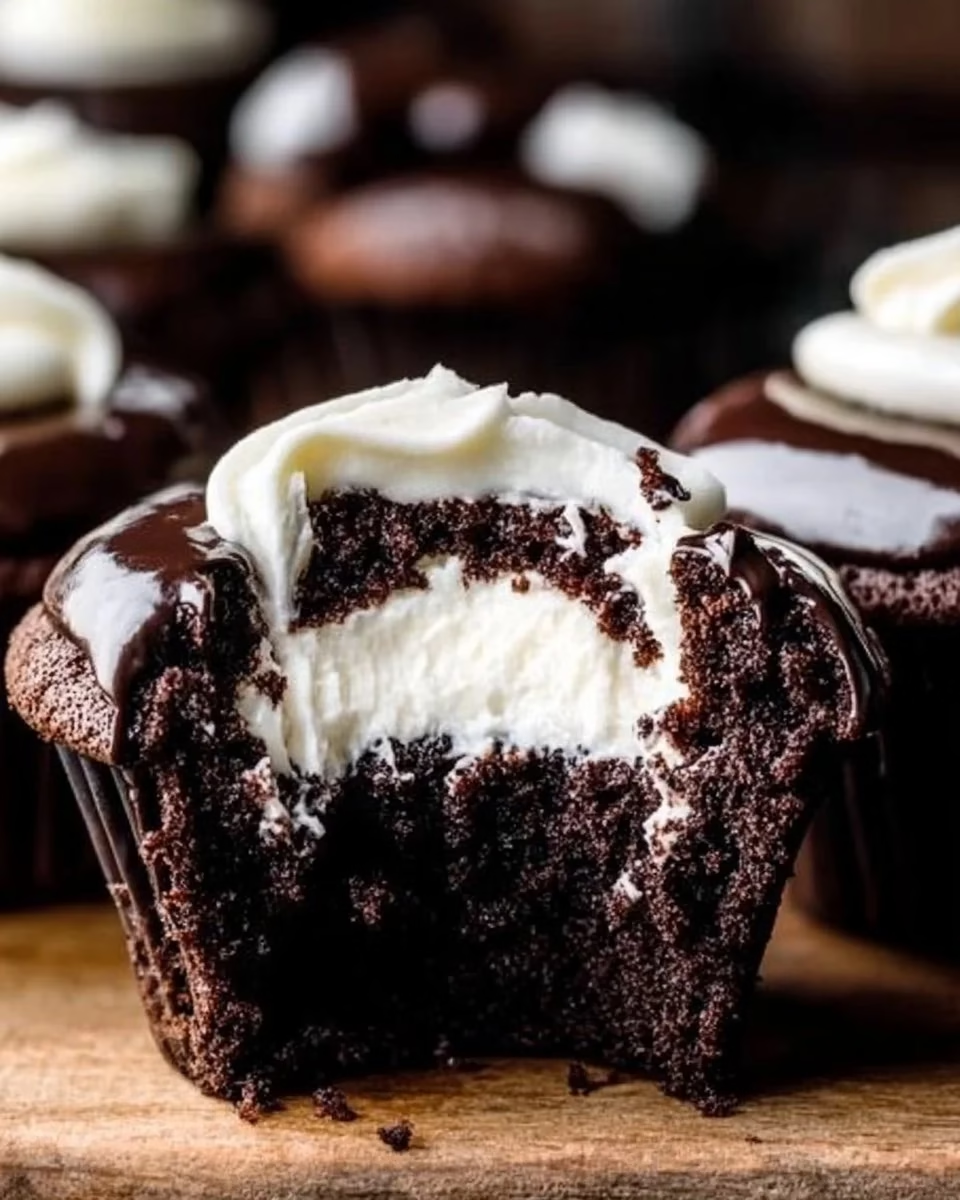
Filling each cupcake is a quiet pleasure. I like to cut a small cone from the top or use a small spoon to remove a neat core. The whipped cream slips into the hollow like a gentle surprise. Serve them the same afternoon if you can, though they hold well for a day or two in the fridge.
Ingredients You’ll Need
1 3/4 cups all-purpose flour
(room temperature helps with texture)
3/4 cup unsweetened cocoa powder
(this adds classic chocolate flavor)
1 1/2 teaspoons baking soda
(aids gentle lift)
1/2 teaspoon baking powder
(helps with a light crumb)
1/2 teaspoon salt
(balances the sweetness)
1 cup sugar
(brings straightforward sweet depth)
1/2 cup brown sugar
(adds a hint of molasses warmth)
2 large eggs
(room temperature eggs blend more evenly)
1 cup milk
(whole milk gives a richer crumb)
1/2 cup vegetable oil
(keeps the cake tender and moist)
2 teaspoons vanilla extract
(for a warm aroma)
1 cup boiling water
(opens the cocoa and loosens the batter)
1 cup heavy cream
(chilled for fluffy, stable whipped cream)
1/4 cup powdered sugar
(finely sweetens the cream without graininess)
Each ingredient is a simple note in the recipe’s harmony. If a bowl sits warm, cool the mix slightly before whipping the cream. If you prefer, you can swap whole milk for buttermilk for a tangier lift, keeping the texture tender and familiar.
Step-by-Step Directions
- Preheat the oven to 350°F (175°C). Line a cupcake pan with liners. Begin with a clean pan and set the racks so the cupcakes will bake evenly. Warm ovens greet batter kindly and help set a good dome as they rise.
- In a large bowl, whisk together the flour, cocoa, baking soda, baking powder, and salt. Sift or whisk until the blend looks even and not lumpy. This helps the dry mix to meet the wet ingredients smoothly.
- In another bowl, mix the sugars, eggs, milk, oil, and vanilla extract until smooth. Beat just until the mixture looks uniform and glossy, not whipped. A few slow folds are enough to combine without stressing the batter.
- Gradually add the dry ingredients to the wet mixture, alternating with boiling water. Stir slowly and gently until just combined, and watch for a tender, smooth batter. The boiling water will make it glossy and thin, but that is exactly what you want for a moist crumb.
- Fill cupcake liners with batter and bake for 18-20 minutes. Allow cooling completely. Fill each liner about two thirds full so the batter rises well. Watch for lightly golden edges and a springy top; a toothpick should come out with a few moist crumbs, not wet batter.
- In a separate bowl, whip the heavy cream and powdered sugar until stiff peaks form. Chill the bowl and whisk if you can; cold cream whips more reliably. Whip on medium speed, watching closely so the cream is smooth and holds shape without becoming grainy.
- Once cupcakes are cool, cut a small hole in the center of each cupcake and fill with whipped cream. Use a small knife or a piping tip to remove a neat cone, then press the cake piece back on or leave the opening for a peek of cream. Fill each gently so the cake keeps its shape.
- Enjoy your homemade chocolate cupcakes! Serve at room temperature for the best texture, and watch faces light up with that first soft bite. These are perfect with tea, coffee, or simply on their own for a quiet treat.
Serving Cream-Filled Chocolate Cupcakes With Care
I like to present these cupcakes plainly on a small plate, letting the chocolate speak for itself. A simple dusting of cocoa or a sprinkle of powdered sugar can feel like a small, thoughtful touch. If you prefer, a thin slice of fresh strawberry or a small spoon of caramel beside the cupcake adds a seasonal note without covering the classic flavors.
At home we often set a small tray on the table with a pot of tea and a few napkins. The habit of sharing in simple ways matters. These cupcakes are modest enough to be a weekday treat and cozy enough for a gathering when friends come by. Let each person take a moment to enjoy the soft cream surprise at the center.
For guests, I sometimes place a small label or a handwritten note explaining that they are cream filled. It invites a small curiosity and makes the experience feel intentional. Small gestures like that are what make baking feel like care given and received.
Keeping It Fresh
Store cupcakes in the refrigerator if you have filled them with cream. Place them in a shallow container in a single layer, covered lightly so the tops stay clean. They keep well for up to two days with minimal change in texture.
If you need to make them ahead, you can bake and cool the cupcakes, freeze them unfilled, and then thaw and fill on the day you will serve them. Wrapped well, the unfrosted cupcakes keep their texture in the freezer and thaw quickly at room temperature before you add the cream.
When reheating a cupcake filled with cream, I suggest a brief rest at room temperature rather than warmth. The cream softens and becomes pleasant to eat after about twenty minutes out of the fridge. If you warmed the cake itself, let it cool and then fill with fresh cream for the best contrast.
Mary’s Baking Notes
- Room temperature matters. Let eggs and milk sit out for a short time so they come closer to room temperature. They mix more evenly and the batter bakes with a steadier rise.
- Measure with care. Use the spoon-and-level method for flour, or weigh if you can. Flour packed too tightly can make the crumb drier than you would like.
- Watch the oven, not the clock. Every oven behaves a little differently. Look for lightly golden edges and a top that springs back when touched. Those cues are more reliable than the timer.
- Chill your cream and bowl. Cold tools help the heavy cream whip up faster and hold its shape. If you have time, pop the bowl and whisk in the fridge for fifteen minutes before whipping.
- Be gentle with the batter. Overmixing can make the cupcakes tough. Stir until the ingredients are just combined and the batter looks smooth.
Each of these small lessons comes from watching cupcakes, and sometimes from a mistake or two. I always keep them in mind, and so will you after a few warm batches.
Family Variations and Small Twists
There are simple ways to change the mood of these cupcakes while keeping their comfort at the center. For a little more texture, fold in a handful of mini chocolate chips into the batter. For a seasonal touch, add a teaspoon of orange zest to the batter to bring a citrusy brightness.
If a family member loves berry notes, consider topping the cream with a spoonful of gently macerated blueberries or raspberries. For a richer cream filling, fold a tablespoon of melted, cooled chocolate into the whipped cream to make a chocolate-cream center that still feels light.
For those who enjoy nearby flavors in other recipes, an inspiration can be found in lighter, fruit-forward treats like the white chocolate blueberry cheesecake cupcakes, which share the same home-baked heart while offering a creamy, fruity contrast.
Keep changes small and familiar so the cupcakes remain approachable and steady. These variations are about personal touches, not reinvention.
Helpful Notes Before You Begin
Prepare your workspace with a few essentials: a whisk, a mixing bowl, a measuring cup, a spoon, and a solid cupcake pan with liners. If you have a stand mixer that makes you feel at ease, it can help with whipping the cream, but these cupcakes are designed to be made with basic tools.
Take a moment to read the recipe through before you start. Gather ingredients at eye level so you do not have to search mid-recipe. I find that the calmest baking begins with a small moment of order: a clean counter and a minute to breathe.
Make time for cooling. Patience here yields a neat cream center and a cupcake that slices or cores without crumbling. If you are baking with children or guests, let them watch the batter thin as the boiling water is added. It is a simple science and a little theater, and it helps everyone feel connected to the process.
FAQs About Cream-Filled Chocolate Cupcakes
Can I make this ahead of time?
Yes, and it often holds up beautifully, especially when stored properly and allowed to rest overnight. If you will serve them the next day, fill them with cream the morning of or shortly before serving for best texture.
Can I use a hand mixer instead of a stand mixer?
Absolutely. A hand mixer works well for whipping the cream and mixing the wet ingredients. Just be gentle and watch small cues so you do not overmix.
What if my cupcakes sink in the middle?
Sinking can happen if the oven temperature is too low or the cupcakes are underbaked. Make sure the oven is properly preheated and check for a springy top and lightly golden edges before removing them.
Can I replace the heavy cream with a lighter filling?
You can use a stabilized whipped topping or a mascarpone filling for a firmer center. Keep the ratio modest so the cup still has a soft, creamy surprise.
How do I prevent soggy bottoms when storing?
Place a paper towel in the bottom of the container beneath the cupcakes if you are storing them filled. It helps absorb excess moisture without drying the cake. Store them in a shallow container so weight does not crush the tops.
A Final Thought
I hope this Cream-Filled Chocolate Cupcakes brings a little comfort to your kitchen, the same way it has in mine over the years. Baking is a small kindness. It asks for patience and returns a quiet pleasure you can share with people you love. When you open the oven and a warm, chocolate scent fills the room, I like to think you are giving yourself a gentle gift. Take your time, trust the small signs, and enjoy the moments that the baking brings. From my kitchen to yours, may these cupcakes be a steady, sweet companion on ordinary days and special ones alike.
Cream-Filled Chocolate Cupcakes
Ingredients
For the Cupcakes
- 1 3/4 cups all-purpose flour Room temperature helps with texture.
- 3/4 cup unsweetened cocoa powder This adds classic chocolate flavor.
- 1 1/2 teaspoons baking soda Aids gentle lift.
- 1/2 teaspoon baking powder Helps with a light crumb.
- 1/2 teaspoon salt Balances the sweetness.
- 1 cup sugar Brings straightforward sweet depth.
- 1/2 cup brown sugar Adds a hint of molasses warmth.
- 2 large eggs Room temperature eggs blend more evenly.
- 1 cup milk Whole milk gives a richer crumb.
- 1/2 cup vegetable oil Keeps the cake tender and moist.
- 2 teaspoons vanilla extract For a warm aroma.
- 1 cup boiling water Opens the cocoa and loosens the batter.
For the Filling
- 1 cup heavy cream Chilled for fluffy, stable whipped cream.
- 1/4 cup powdered sugar Finely sweetens the cream without graininess.
Instructions
Preparation
- Preheat the oven to 350°F (175°C) and line a cupcake pan with liners.
- In a large bowl, whisk together the flour, cocoa, baking soda, baking powder, and salt until even.
- In another bowl, mix the sugars, eggs, milk, oil, and vanilla extract until smooth and glossy.
- Gradually add the dry ingredients to the wet mixture, alternating with boiling water, stirring slowly until just combined.
- Fill cupcake liners with batter about two thirds full and bake for 18-20 minutes. Allow cupcakes to cool completely.
Add the Filling
- In a separate bowl, whip the chilled heavy cream and powdered sugar until stiff peaks form.
- Once cupcakes are cool, cut a small hole in the center of each and fill with whipped cream.
Serving
- Serve at room temperature. Enjoy with tea, coffee, or as a cozy treat on their own.