There are desserts that simply taste like childhood, and Cotton Candy Cake is one of them. Light, fluffy, impossibly colorful, and just the right amount of sweet, this cake brings pure joy to any table. Whether you’re planning a birthday bash, a baby shower, or just feel like channeling your inner kid, this dreamy dessert will steal the spotlight in the most delicious way.
Cotton Candy Cake Ingredients
Essential Ingredients for the Cake Base
To create a delightful cotton candy cake, you’ll need the following ingredients:
- All-purpose flour: Provides structure to the cake.
- Granulated sugar: Adds sweetness and moisture.
- Unsalted butter: Offers richness and flavor.
- Eggs: Bind the ingredients and contribute to the cake’s texture.
- Baking powder: Helps the cake rise, ensuring a fluffy crumb.
- Whole milk: Adds moisture and tenderness.
- Vanilla extract: Enhances the overall flavor profile. You can also discover more about the surprising benefits of vanilla extract beyond just flavor!
Special Additions: Incorporating Cotton Candy Flavor
To infuse that nostalgic carnival taste into your cotton candy cake, consider these additions:
- Cotton candy flavoring: A concentrated extract available at specialty baking stores.
- Pink and blue food coloring: Achieve the signature pastel hues reminiscent of traditional cotton candy.
Step-by-Step Guide to Baking the Perfect Cotton Candy Cake
Preparing the Batter: Mixing Techniques
- Cream the butter and sugar: In a large mixing bowl, beat unsalted butter and granulated sugar until light and fluffy. This step incorporates air, resulting in a tender crumb.
- Add eggs one at a time: Beating well after each addition ensures a uniform mixture.
- Incorporate dry ingredients: Sift together all-purpose flour and baking powder. Gradually add this to the butter mixture, alternating with whole milk, beginning and ending with the dry ingredients.
- Mix in flavoring and coloring: Stir in vanilla extract and cotton candy flavoring. Divide the batter equally into two bowls, tinting one with pink and the other with blue food coloring.
Baking Process: Tips for Even and Moist Layers
- Preheat the oven: Set to 350°F (175°C) to ensure consistent baking.
- Prepare the pans: Grease and flour two 9-inch round cake pans to prevent sticking.
- Divide and pour batter: Pour the pink batter into one pan and the blue into the other, smoothing the tops with a spatula.
- Bake: Place pans in the oven and bake for 25-30 minutes, or until a toothpick inserted into the center comes out clean.
- Cool: Allow cakes to cool in the pans for 10 minutes, then transfer to cooling racks to cool completely.
Cooling and Leveling the Cake Layers
- Leveling: Once cooled, use a serrated knife to trim any domed tops, creating flat surfaces for stacking.
- Moisture retention: Wrap each layer in plastic wrap and refrigerate for at least an hour. Chilled cakes are easier to frost and less prone to crumbs.
By following these steps, you’re well on your way to creating a visually stunning and delicious cotton candy cake that will impress at any gathering.
Crafting the Cotton Candy Buttercream Frosting
Ingredients Needed for the Frosting
To create a luscious buttercream that complements your cotton candy cake, gather the following:
- Unsalted butter: Provides a creamy base.
- Powdered sugar: Sweetens and thickens the frosting.
- Heavy cream: Adds richness and achieves the desired consistency.
- Cotton candy flavoring: Infuses that nostalgic carnival taste.
- Pink and blue food coloring: For those signature pastel shades.
Mixing and Achieving the Desired Consistency
- Cream the butter: In a mixing bowl, beat softened unsalted butter until it’s light and fluffy.
- Gradually add powdered sugar: Incorporate the powdered sugar in small batches, mixing well after each addition to avoid lumps.
- Pour in heavy cream: Add heavy cream to reach a spreadable consistency, ensuring the frosting is neither too stiff nor too runny.
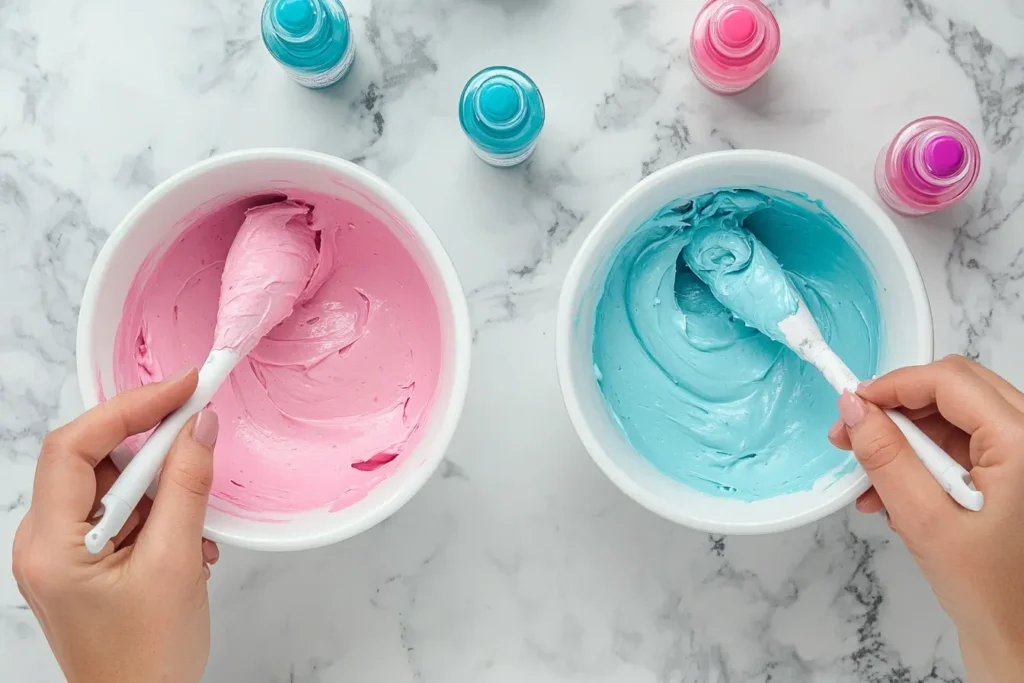
- Flavor and color: Mix in the cotton candy flavoring. Divide the frosting into two portions, tinting one pink and the other blue to match your cake layers.
Adding Colors:
To achieve the classic pastel look:
- Use gel food coloring: A small amount goes a long way, providing vibrant colors without altering the frosting’s consistency.
- Blend thoroughly: Ensure the color is evenly distributed, resulting in a smooth, uniform appearance.
Assembling and Decorating Your Cotton Candy Cake
Layering the Cake with Frosting
- Prepare the base: Place one cooled cake layer on a serving plate or cake stand.
- Apply frosting: Spread a generous amount of pink buttercream over the top, ensuring an even layer.
- Add the second layer: Place the second cake layer atop the first, pressing gently to secure.
Applying the Crumb Coat and Final Frosting Layer
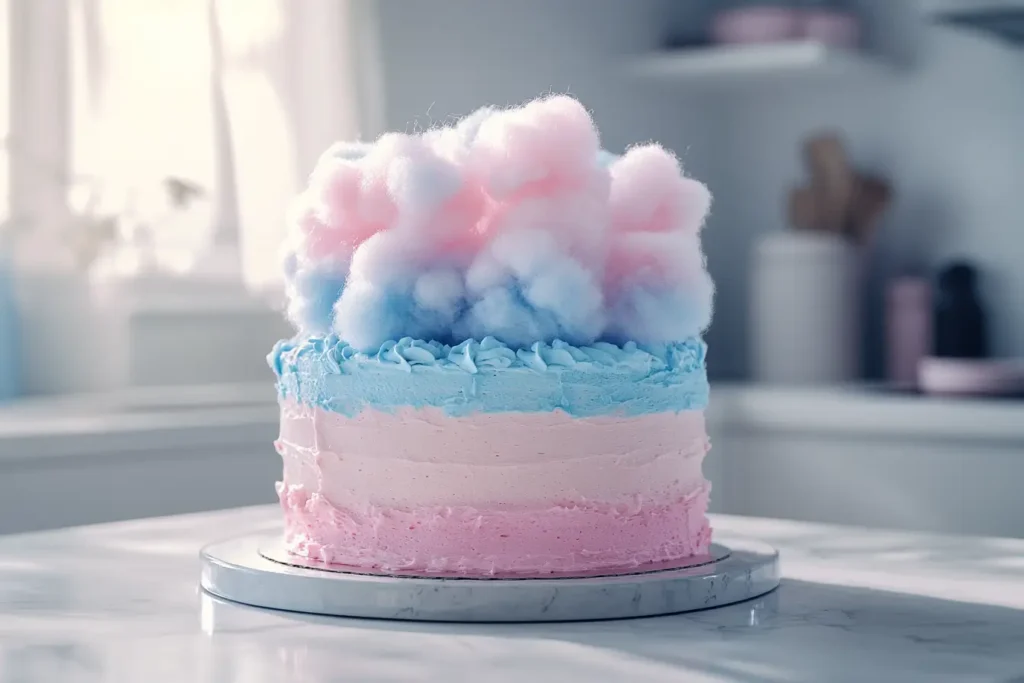
- Crumb coat: Apply a thin layer of blue buttercream over the entire cake to seal in crumbs. Chill the cake for about 30 minutes to set this layer.
- Final frosting: Once the crumb coat is firm, apply a thicker layer of blue buttercream, smoothing it out for a polished finish.
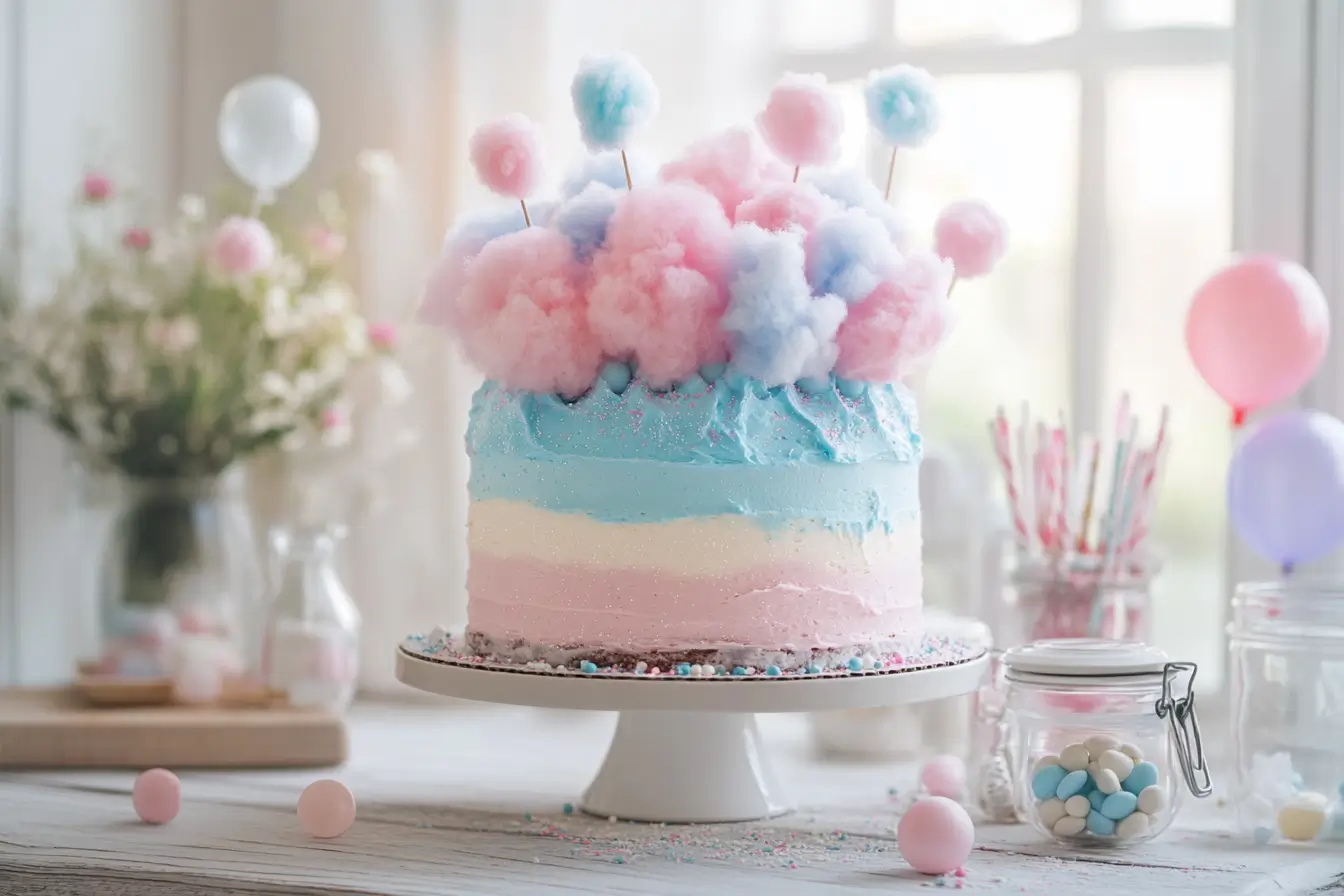
Creative Decoration Ideas: Using Real Cotton Candy and Edible Glitter
Elevate your cotton candy cake with whimsical decorations:
- Real cotton candy: Adorn the top and sides with tufts of cotton candy just before serving to prevent it from melting.
- Edible glitter: Sprinkle over the frosting for a sparkling effect that catches the eye.
- Pastel sprinkles: Add a playful touch by scattering pastel-colored sprinkles around the base or on top.
By following these steps, you’ll create a cotton candy cake that’s as enchanting to look at as it is to eat, making it the star of any celebration.
Storage Recommendations to Maintain Freshness
Proper storage is essential to keep your cotton candy cake as delicious as the moment it was made:
- Refrigeration: Store the cake in an airtight container in the fridge for up to three days. This prevents the buttercream frosting from drying out.
- Room temperature: If serving within a few hours, you can leave the cake at room temperature in a cool, dry place.
- Avoid placing cotton candy in storage: Cotton candy decorations should be added just before serving, as they don’t hold up well in humid conditions.
Cotton Candy Cake FAQs
Can I make it gluten-free or vegan?
Yes! Use a 1:1 gluten-free flour blend for gluten-free, and flax eggs plus plant-based butter for a vegan version.
How far ahead can I prepare it?
Bake layers up to 2 days ahead. Wrap and chill. Frosting can be made a day early—just re-whip before using.
What flavors go well with cotton candy?
Try strawberry jam, marshmallow cream, or white chocolate ganache for extra flavor and texture!
Final Thoughts: Why You’ll Love This Cake
There’s something truly magical about Cotton Candy Cake. It’s not just about the flavor—it’s about the entire experience. From the first sight of its dreamy swirls and puffy topping to that first, blissful bite, it brings out the kind of wide-eyed wonder we could all use a little more of.
Whether you’re celebrating a major milestone or simply making an ordinary day feel special, this cake is pure joy on a plate. If you’re planning a special occasion like a gender reveal, check out our full Gender Reveal Cake Guide for more whimsical and creative ideas! So whip out the pastel colors, channel your inner kid, and get ready to bake a cake that’s as fun to make as it is to eat.

Cotton Candy Cake
Ingredients
- 1 box white or vanilla cake mix or your favorite from-scratch recipe
- as needed pastel gel food coloring pink and blue recommended
- 1 teaspoon cotton candy flavoring
- 1 cup unsalted butter, softened for buttercream
- 4 cups powdered sugar for buttercream
- 2-4 tablespoons milk or heavy cream adjust for frosting consistency
- 1 teaspoon vanilla extract optional, for buttercream
- as needed real cotton candy for decorating
- optional sprinkles, edible glitter, pastel candies for decoration
Instructions
- Prepare cake batter according to package directions or your recipe. Divide into two bowls and tint one pink and one blue with gel food coloring.
- Spoon alternating colors into prepared cake pans and gently swirl with a toothpick for a marbled effect.
- Bake according to cake mix or recipe instructions. Cool completely and level layers if needed.
- To make the buttercream, beat the softened butter until creamy. Gradually add powdered sugar, milk or cream as needed, and cotton candy flavoring. Add optional vanilla extract.
- Layer cakes with frosting between each layer. Apply a crumb coat and chill briefly, then frost the cake with a thick final layer.
- Decorate with real cotton candy right before serving. Add sprinkles, edible glitter, or pastel candies if desired.
