I cracked the first egg and for a moment the kitchen smelled like nostalgia and warm buttered toast, and I smiled at the small, ordinary miracle of a yolk that held its shape. I remember testing the texture late one night, watching the yolk mixture move from sandy to satin under the light, and feeling a quiet delight when the right balance of cream and tang finally arrived. That tiny, familiar bite of Classic Deviled Eggs carries comfort and curiosity the same way a tried recipe invites a small, playful change.
Why This Classic Deviled Eggs Became a Favorite
There is something about a simple, well-made bite that keeps me coming back to this Classic Deviled Eggs. I spent a few afternoons making small batches, adjusting mayonnaise and mustard by tiny measures until the mouthfeel hummed right. Each test felt like a little experiment in texture and memory, and the version that stayed lived up to a promise of clarity.
What drew me to it was not novelty but reliability. I wanted something I could trust to turn out the same way in any kitchen, so I tested it in different pans, at different times of day, and with slight tweaks to the yolk mix. Those small tests told me which changes made things better and which just complicated the joy.
I also loved how this recipe welcomes curiosity. Once the base felt solid I started to play with little shifts, keeping the heart of the dish intact. If you like playful twists, try something seasonal like pumpkin deviled eggs where autumn spices make the yolk speak a new language while the fundamentals stay true.
The Rhythm of Making Classic Deviled Eggs
“The moment the texture shifts, you know it’s ready.”
Making these eggs is a rhythm of small, attentive moves. You boil, you cool, you halve, and you pause between each step to notice how the egg white holds its shape and how the yolk responds to a fork. The process is steady and forgiving, which makes it perfect for a beginner who wants to learn through touch and sight.
Watch the yolks as you mash them. At first they feel crumbly and dry, then they soften into a cottony, spreadable cream as mayonnaise and mustard fold in. That glossiness that catches the light is a good sign; it means the fats have bound with the yolk and the mixture will sit smoothly on the egg white.
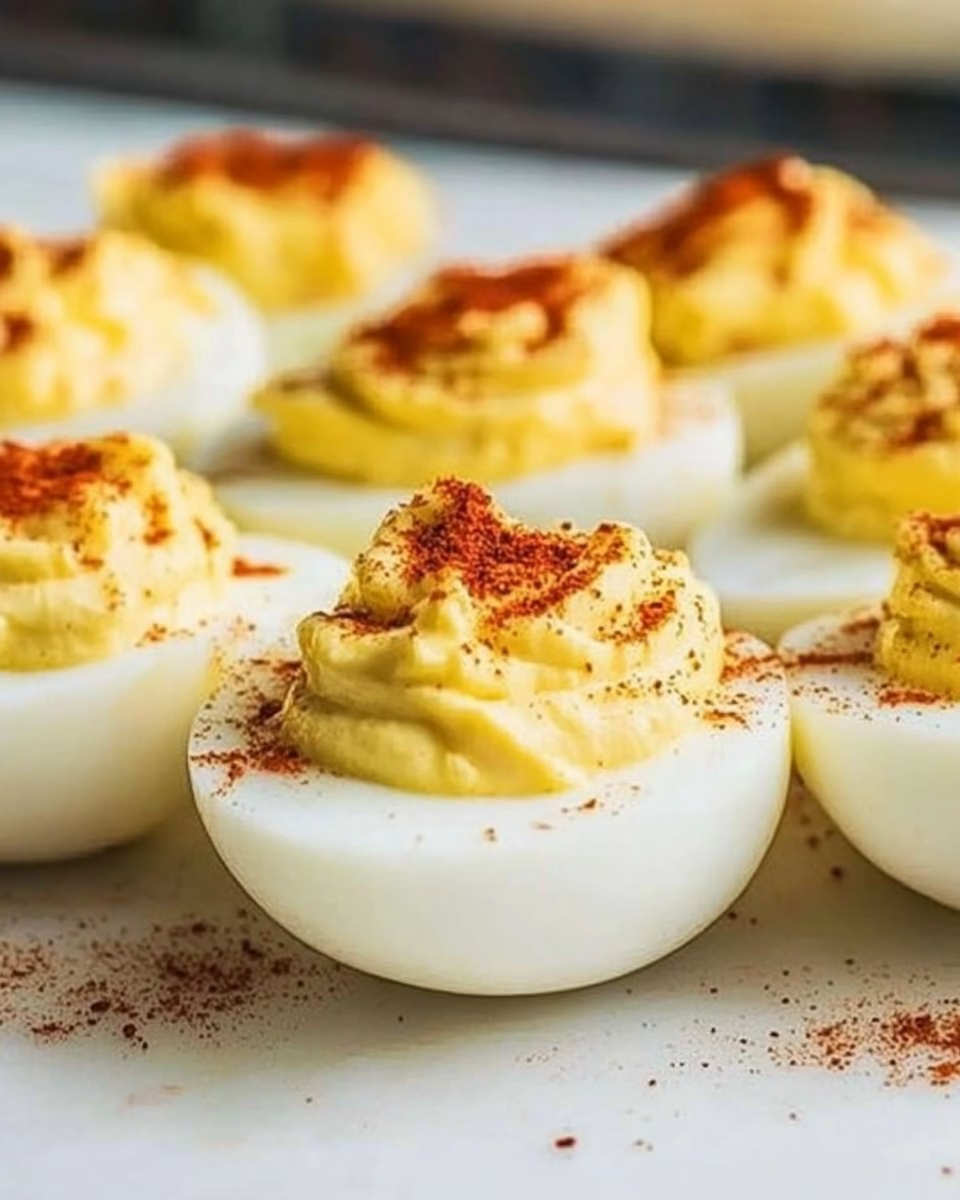
When you spoon or pipe the filling back in, let your hands guide you more than a timer. A small mound should settle into the hollow of the white and keep a gentle peak without collapsing into a flat pat. Stop once it feels soft but set, and remember that a light chill later will tighten everything into the familiar, neat bite we love.
Ingredients You’ll Need
6 hard-boiled eggs
1/4 cup mayonnaise — this adds richness without overpowering.
1 teaspoon mustard — this gives a gentle tang and brightens the yolk.
Salt to taste — this helps with structure and brings out subtle flavors.
Paprika for garnish — this lends color and a faint smoky note.
I like to keep the ingredient list small because it lets each element speak clearly. With just these few items you can read how each word on the plate behaves. The mayonnaise gives silk, the mustard lifts, and a pinch of salt ties everything into a single, honest bite.
Step-by-Step Directions
-
Cut the hard-boiled eggs in half lengthwise and remove the yolks.
Use a sharp knife and steady hands so the white keeps its clean edge.
Set the whites on a tray and put the yolks in a bowl where you can mash them smooth. -
In a bowl, mash the yolks with mayonnaise, mustard, and salt until smooth.
Work with a fork and press until the mixture looks glossy and spreads easily.
Watch for a smooth sheen and stop when the texture is soft but holds shape. -
Spoon or pipe the yolk mixture back into the egg whites.
If spooning, use the back of the spoon to make a neat peak; if piping, a wide tip is comforting.
Fill each cavity just enough that the filling reaches the rim without overflowing. -
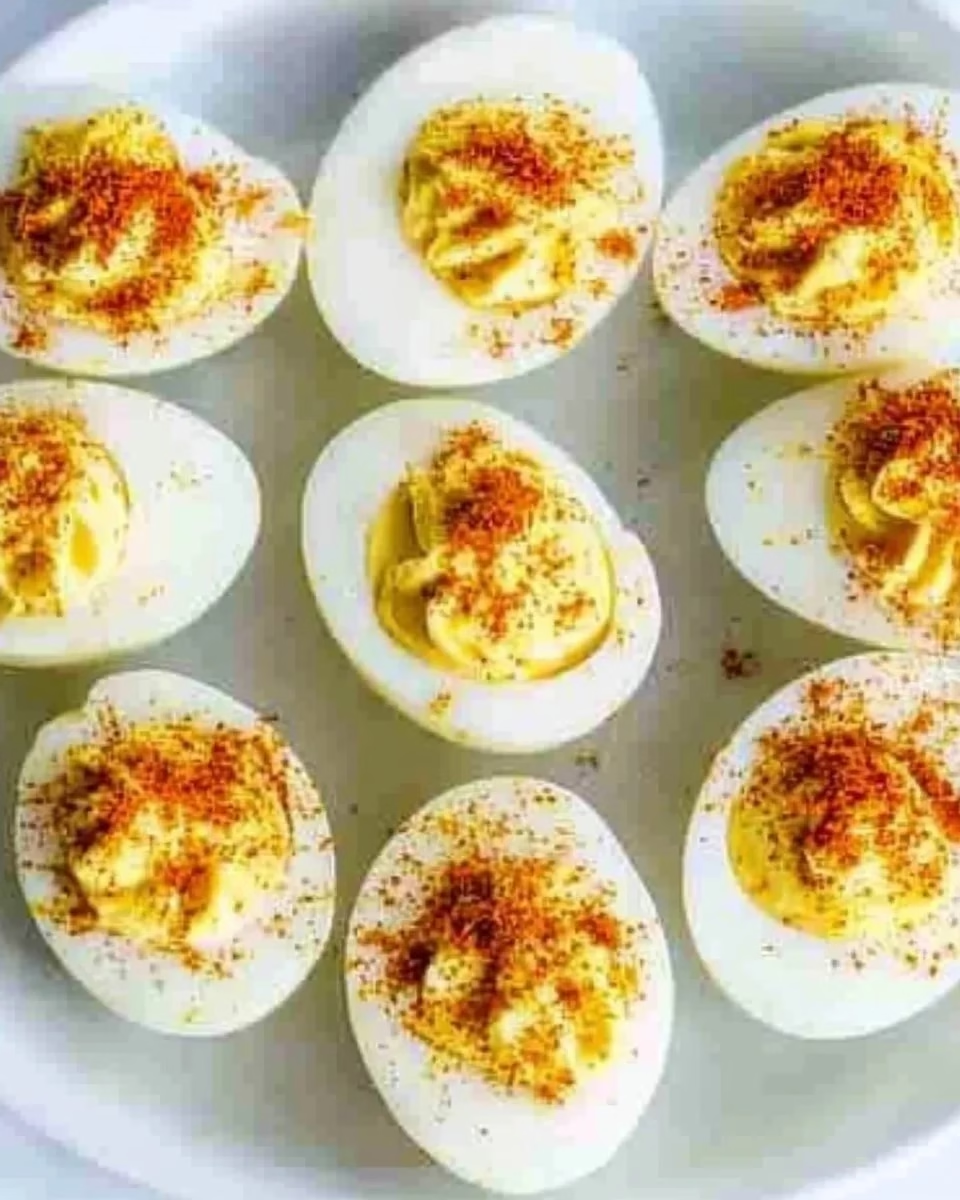
Sprinkle with paprika for garnish.
Dust lightly so the color pops but does not overwhelm the flavor.
The paprika also gives a visual cue that the eggs are ready to serve. -
Serve chilled.
Let the eggs rest in the fridge for at least fifteen minutes to settle the texture.
Cold helps the filling firm just enough so each bite snaps cleanly.
When I Serve Classic Deviled Eggs
These eggs are a quiet joy on the weekend and a small showpiece at a casual gathering. I like to bring them to a picnic because they travel well when kept cool, and they give guests a familiar first bite that invites conversation. For holiday spreads they sit next to richer dishes and offer a bright counterpoint.
Pairing ideas are simple and honest. A crisp green salad, a loaf of crusty bread, and a bowl of pickles make a humble table feel like a feast. In the season of cookies and sparkling lights, I sometimes set the eggs beside a few sweet bites like decorated sugar cookies for a playful contrast between savory and sweet.
Presentation matters more than fuss. Arrange the eggs on a shallow dish so each one feels accessible. Scatter a few sprigs of dill or small slices of chive across the platter for a light green that makes the yolk color pop and invites someone to take the first piece.
Keeping Classic Deviled Eggs Fresh
Store your filled eggs in a covered container in the refrigerator. Keep them chilled until you are ready to serve, and avoid leaving them at room temperature for more than a couple of hours. Freshness affects texture more than flavor; the filling can lose its airy gloss if it sits too long.
If you need to make them a day ahead, prepare the yolk mixture and store it separately from the whites. Fill the whites about 30 minutes before serving for the most pleasing texture. Resting a filled egg for a short time is good, but prolonged refrigeration can slightly firm the filling and mute the bright mustard note.
Expect gentle changes over time. The yolk mixture may tighten and the edges of the white might dry a touch, but the flavors will remain friendly. If you notice a slight dryness, a quick dab of extra mayonnaise mixed into the filling before serving can bring back the silk.
What I Learned While Testing
- Measure by feel as much as by sight. Small adjustments in mayonnaise can dramatically change mouthfeel, so test with a teaspoon at a time until you hit that satin texture.
- Freshly hard-boiled eggs matter. An eggshell that peels smoothly gives you clean edges and a confident fill, so I test different boiling and cooling times until the white stays intact.
- Salt late and taste often. Salt can compress the perceived creaminess of the yolk, so add a little at a time and stop when the balance sings.
- Keep a light hand with mustard. Too much can dominate the yolk, but a gentle amount brightens it and keeps the filling lively.
- Try both piping and spooning. Piping creates a more polished look for guests, while spooning feels approachable and homey.
These notes came from many small batches and quiet afternoons in the kitchen. I wrote down how each change felt on the plate and in my mouth so I could return to the best version whenever I wanted to share it with friends.
Small Twists That Work
Sometimes I like to fold in a small change to keep things playful. A teaspoon of minced pickle or a few capers adds a saline pop that pairs well with the yolk’s cream. A touch of smoked paprika instead of sweet will give a subtle smoke that plays well with the egg.
For a herbed version I stir in a tablespoon of finely chopped chives or dill. The herbs bring a fresh green note and a different mouthfeel without upsetting the structure. If you want a little heat, a pinch of cayenne or a drop of hot sauce can liven the filling without making it shout.
If you are curious about bolder twists, try mixing a small amount of blue cheese into one third of the filling and keep the rest classic. It makes a few daring plates for people who like contrast. The idea is to experiment gently, keeping the basic technique so the result stays dependable.
FAQs About Classic Deviled Eggs
Can I make this ahead of time?
Yes, you can prepare the yolk mixture ahead and keep it chilled, then fill the whites later for the best texture. In some cases, the flavors settle busily and the mix tastes more cohesive the next day.
How do I tell if a yolk is cooked just right?
A well-cooked yolk should be firm but not chalky, and it should mash into an even crumb before you add the wet ingredients. If the center is too soft, the filling can become overly loose; if too dry it will feel sandy.
What is the best way to pipe the filling?
Use a piping bag with a wide round or star tip and don’t overfill the bag so you can guide the mixture gently. Squeeze with steady pressure and let the tip skim the rim of the white as the filling settles.
Can I reduce the mayonnaise?
You can, but reduce in small steps and pay attention to the mouthfeel. A little less mayo will increase the mustard’s tang and make the filling denser. If you cut too much, consider adding a tiny bit of olive oil or cream to recover silk.
How long will they last in the fridge?
Filled eggs are best within one to two days. Keep them covered and chilled; after that the texture and brightness begin to change more noticeably.
Why I’ll Make This Classic Deviled Eggs Again
I return to this recipe because it feels like a small, reliable joy that still allows room for play. The method is simple, the ingredients are honest, and the result is a familiar little bite that invites conversation. Each time I test a variant I come away with a detail I tuck into my notes, and those notes help me teach the next person who asks.
A great recipe is not a command; it is a friend you come back to and adapt. I hope this Classic Deviled Eggs encourages you to try a tiny tweak and trust your instincts, the way I learned to trust mine over many small tests. From my kitchen to yours, may your next batch bring a little surprise and a lot of comfort.
Classic Deviled Eggs
Ingredients
Main Ingredients
- 6 pieces hard-boiled eggs
- 1/4 cup mayonnaise adds richness without overpowering
- 1 teaspoon mustard gives a gentle tang and brightens the yolk
- Salt to taste helps with structure and brings out subtle flavors
- Paprika for garnish lends color and a faint smoky note
Instructions
Preparation
- Cut the hard-boiled eggs in half lengthwise and remove the yolks.
- Set the whites on a tray and put the yolks in a bowl where you can mash them smooth.
Mixing the Filling
- In a bowl, mash the yolks with mayonnaise, mustard, and salt until smooth.
- Work with a fork and press until the mixture looks glossy and spreads easily.
Filling the Eggs
- Spoon or pipe the yolk mixture back into the egg whites.
- If spooning, use the back of the spoon to make a neat peak; if piping, a wide tip is comforting.
- Fill each cavity just enough that the filling reaches the rim without overflowing.
Garnishing and Serving
- Sprinkle with paprika for garnish.
- Serve chilled and let the eggs rest in the fridge for at least fifteen minutes to settle the texture.