The first time I tasted Chick Macarons fresh from the oven, I remember the quiet hum of the kitchen and the small thrill when the shells had just the right shine and the centers felt soft but set. The aroma was a gentle mix of butter and sugar, and I stood there, folding the filling with a spoon, watching the little chicks take shape as if they were waiting for their moment. If you like playful contrasts between sweet treats and savory ideas, I sometimes think about pairing textures and flavors across dishes, and I keep a note of favorite pairings like best toppings for chicken sandwiches to spark new ideas.
What Drew Me to This Chick Macarons
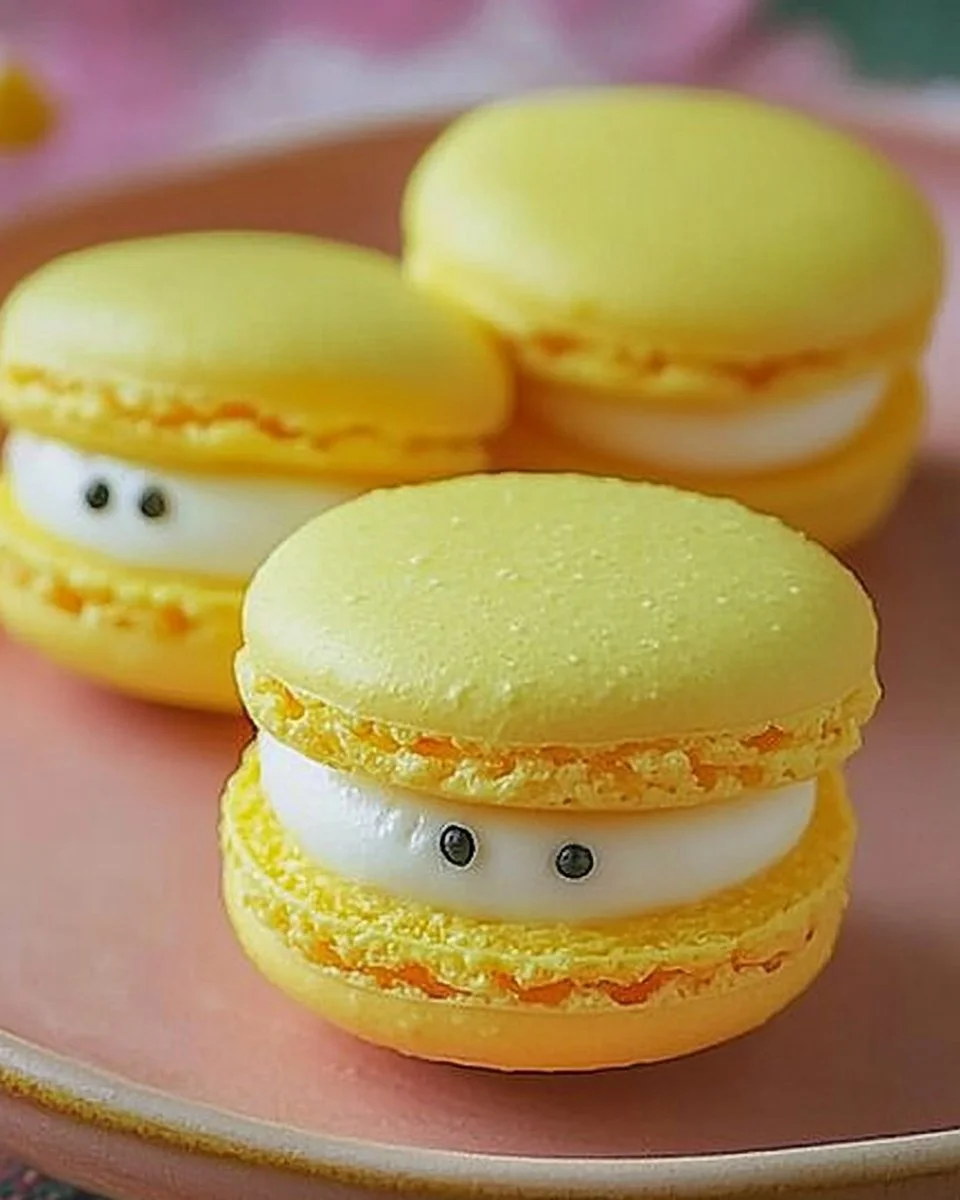
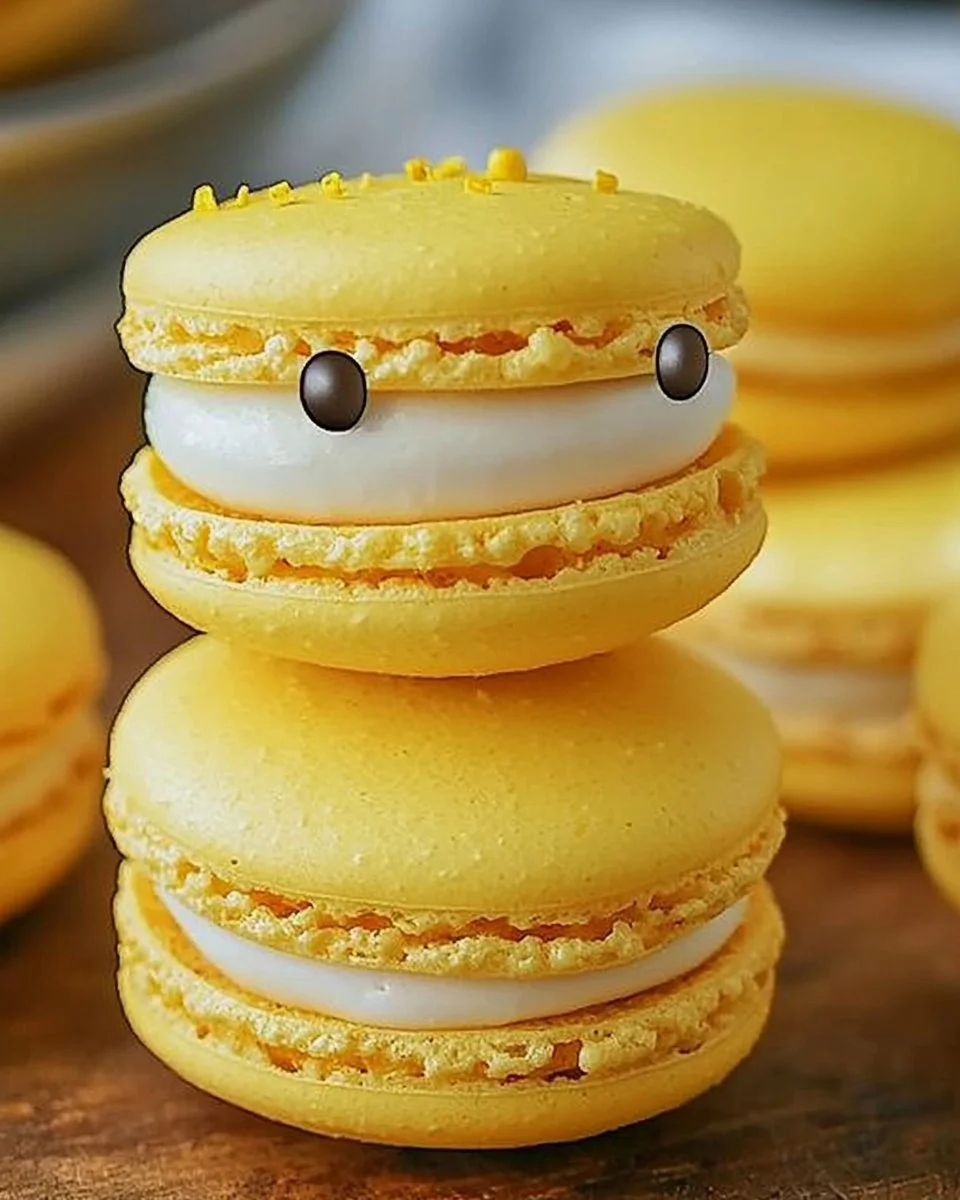
Chick Macarons
Ingredients
For the Macaron Shells
- 1 cup Almond flour, finely ground Adds classic macaron bite without grit.
- 1 cup Powdered sugar, sifted Keeps the shells smooth.
- 3 large Egg whites, aged at room temperature Helps with structure and better meringue.
- 1/2 cup Granulated sugar Sweetens and stabilizes the meringue.
- 1/4 teaspoon Cream of tartar Adds stability to the meringue.
- as needed drops Food coloring, gel or powder Optional, for cheerful chick colors.
For the Filling
- 1/2 cup Butter, softened Adds richness without overpowering.
- 1 cup Powdered sugar for filling, sifted Sweetens and sets the filling.
- 1 teaspoon Vanilla extract or other flavoring Gives gentle aroma.
- 1 teaspoon Lemon zest Optional, for brightness.
- as needed pieces Mini chocolate chips or edible markers For eye details, adds personality.
Instructions
Preparation
- Sift the almond flour and powdered sugar together twice into a wide bowl and set aside.
- Whip the aged egg whites in a clean, dry bowl until frothy, then add cream of tartar and gradually add granulated sugar.
- Whisk until the meringue forms glossy, stiff peaks. The bowl can be tipped without the meringue slipping.
Making the Batter
- Fold one third of the sifted mix into the meringue using wide sweeping strokes.
- Add the rest of the sifted mix in two additions, folding until the batter becomes thick and flows like slow lava. Stop once it forms a smooth ribbon.
Piping
- Transfer the batter to a pastry bag fitted with a round tip and practice piping small rounds about the size of a quarter on parchment.
- Let the piped shells rest at room temperature until they form a dry skin on top, about 20 to 40 minutes.
Baking
- Preheat your oven and bake the shells in the middle rack for about 12 to 15 minutes. Once baked, let them cool completely.
Making the Filling
- Beat the softened butter with powdered sugar until light and creamy.
- Fold in the vanilla and lemon zest if using. Adjust sweetness and texture.
Assembling
- Match shells by size and pipe a small dollop of filling on one shell, then press to sandwich with its mate.
- Add mini chocolate chips or colored buttercream for eyes and a small piped dot for a beak.
Notes
Nutrition
I started making Chick Macarons as a small, curious experiment one slow afternoon when I wanted to combine cute shapes with classic macaron technique. It felt like a good way to practice folding and piping without the pressure of a large batch. Testing in small batches let me see how tiny changes in mixing or rest time changed the feel of each shell.
In the rounds of testing, some shells came out too flat, and some had big feet, and each time I adjusted a little and learned something. The recipe became a favorite because it balances the joy of decorating with clear, repeatable steps. It is a recipe that invites curiosity and then rewards careful attention with reliable results.
The Rhythm of Making Chick Macarons
“The moment the texture shifts, you know it’s ready.”
When I say rhythm, I mean the quiet cycle of sifting, whipping, folding, and resting. Watch the meringue turn glossy, then listen to how the batter slides slowly off the spatula. Those moments tell you what the shells will do in the oven.
Start with calm hands and clean bowls, and the steps feel almost meditative. When you pipe, you can see the chick shapes hold or collapse and that gives you instant feedback. The oven minute marks are important, but texture cues are what I trust most.
There is a playful part to shaping the chicks. I use simple piping motions to make a round body and tiny wings. If a tip gets clogged, I stop and clean it rather than forcing the shape. Small, steady moves keep the look neat and make the bake easier to predict.
Ingredients You’ll Need
Almond flour, finely ground (this adds the classic macaron bite without grit). Powdered sugar, sifted (this keeps the shells smooth). Egg whites, aged a bit at room temperature (this helps with structure and better meringue). Granulated sugar (this sweetens and stabilizes the meringue). Cream of tartar or a pinch of salt (this adds stability to the meringue). Food coloring, gel or powder (optional, for cheerful chick colors). Butter, softened (for the filling, adds richness without overpowering). Powdered sugar for filling, sifted (this sweetens and sets the filling). Vanilla extract or other flavoring (this gives gentle aroma). Lemon zest or a small drop of extract for brightness (optional, for contrast). Mini chocolate chips or edible markers for eye details (these add personality).
Each ingredient plays a simple role. The almond flour and powdered sugar make the right texture. The egg whites and granulated sugar create a sturdy, glossy meringue. The filling ingredients are forgiving and blend into a smooth paste that helps the shells stick together.
Step-by-Step Directions
- Begin by sifting the almond flour and powdered sugar together twice into a wide bowl, then set the mixture aside. This removes lumps and makes the surface of the shells smooth, which matters more than you might think. Make sure your workspace is clean and dry so moisture does not change the batter.
- Whip the aged egg whites in a clean, dry bowl until frothy, then add a pinch of cream of tartar and begin adding granulated sugar slowly. Whisk until the meringue forms glossy, stiff peaks that hold their shape. You will know it is ready when the bowl can be tipped without the meringue slipping.
- Gently fold one third of the sifted dry mix into the meringue with a silicone spatula, using wide sweeping strokes to keep air in. From there, add the rest of the dry mix in two additions, folding until the batter becomes thick and flows like slow lava. Stop once the batter forms a smooth ribbon and loses most of its glossy peaks.
- Transfer the batter to a pastry bag fitted with a round tip, and practice piping a few rounds on parchment to find your rhythm. Pipe small rounds about the size of a quarter for each chick body, spacing them well on the lined baking sheet. Use a toothpick to pop any bubbles on the surface and tap the sheet lightly on the counter to smooth the tops.
- Let the piped shells rest at room temperature until they form a dry skin on top, which usually takes 20 to 40 minutes depending on humidity. You can touch lightly with a finger and feel the top; it should not stick. This step helps the shells rise evenly and form tidy little feet.
- Preheat your oven and bake the shells in the middle rack until the edges feel set and the tops no longer jiggle, about 12 to 15 minutes depending on size. Rotate the sheet halfway through if your oven is uneven. Once baked, let the shells cool completely on the sheet to avoid cracking them with sudden movement.
- While shells cool, beat the softened butter with powdered sugar until light and creamy, then fold in vanilla and a small amount of lemon zest if using. Adjust sweetness and texture with tiny additions of cream or powdered sugar until the filling feels balanced. Transfer the filling to a small piping bag for neat application.
- Match shells by size and pipe a small dollop of filling on one shell, then gently sandwich with its mate, pressing to spread the filling to the edges without squishing it out. Add a bit more filling to form a rounded center that peeks out like a little belly. For the chick face, use mini chocolate chips or an edible marker to add eyes and a tiny beak.
- After assembling, let the macarons rest in a sealed container in the refrigerator for at least 24 hours to let the flavors settle and the texture knit together. Bring them back to room temperature before serving to enjoy the proper chew. Small changes in rest time will shift texture, so note how you like them and try again.
When I Serve Chick Macarons
I love these as a weekend treat that feels fancy without fuss. They fit nicely on a small plate with a cup of tea, or scattered on a platter for a casual get-together. The playful chick shape makes them a hit with guests of all ages, and they start conversations.
For a relaxed brunch, I arrange them with fresh berries and a mild cheese that pairs with the sweet filling. For small parties, they sit well next to a tray of sandwiches and bright salads, and they add a sweet note without dominating the table. They are a gentle, thoughtful dessert that keeps the mood light.
When friends come by to test a new batch, I like to offer a few variations side by side so people can taste the difference between a lemon-scented filling and a vanilla one. This makes serving part of the fun and lets guests see how small changes affect flavor and texture. Presentation is simple: a pile of little chicks on a plain plate looks cheerfully homemade.
Keeping Chick Macarons Fresh
Store them in a shallow, airtight container layered with parchment to avoid sticking and pressure. Refrigerate for up to five days to keep the filling stable, and bring them to room temperature before serving for the best chew. If you need to keep them longer, freeze in a sealed container for up to one month and thaw in the fridge overnight.
Expect a slight change in texture over time, with the shells softening a bit and the flavor blending more with the filling. That can be pleasant, but if you like a bit more crunch to the shells, eat them sooner rather than later. For travel, pack them snugly to prevent jostling that can crack shells or smear filling.
If a shell cracks or a chick looks imperfect, it still tastes lovely, and small flaws often disappear after a day of rest. I label my containers with the bake date so I can track how the texture changes in my kitchen. This small habit keeps me learning about how storage affects the end result.
Carol’s Baking Notes
Start with small batches and keep notes. I found that baking just six to twelve at a time let me try one change at a time and learn faster. Jot down oven temperature, time, and rest length so you can repeat what works.
Humidity matters more than most people expect. On humid days, shells take longer to form a skin. I watch the surface and feel it gently instead of relying only on a timer. If the surface still sticks, give it a little more rest.
Match shells by size for neat sandwiches. After cooling, pair like with like so the finished macarons look polished. A kitchen scale helps here; I weigh piped rounds when I want uniformity.
Use gel color sparingly. A tiny amount gives bright color without adding moisture. Add color at the final folding stage so you can judge batter consistency accurately.
If feet are small or shells crack, first check oven temperature and airflow. Slightly lower heat and longer time can help shells rise without cracking. Each oven behaves differently, so take notes and adjust gently.
Variations I’ve Tried
Lemon curd filling with a touch of mascarpone makes a bright, tangy chick that balances the sweet shell. I fold in a spoon of curd into a soft buttercream, and the result is light and fresh. It is one of my favorites on warm afternoons.
Chocolate ganache filling gives a rich, silky contrast to the delicate shell. I cool the ganache until spreadable and then pipe a small rosette in the shell center. The chocolate chew pairs well with the almond base and makes the chicks feel a bit more decadent.
Matcha buttercream is a calm, grassy variation for those who like a subtle flavor. Sift matcha into the powdered sugar before beating with butter, and keep the green soft and light. The color is pretty on yellow shells, and the taste is calm.
Spiced honey filling uses a bit of warmed honey with cinnamon and a tiny pinch of salt folded into buttercream. The warmth of spice makes the chick feel cozy and homey. It is a nice twist for cooler months or for a rustic gathering.
If you like a crunchy center, fold in finely chopped toasted almonds into the filling for texture. This adds a nutty surprise that plays well with the soft shell. Be careful not to add large pieces that could split shells when you bite.
Helpful Answers Before You Start
Can I make this ahead of time? Yes, you can make the shells and filling ahead and assemble a day before serving, which often improves flavor and texture. Store in the fridge and bring to room temperature right before serving to enjoy the best chew.
What size should I pipe for each chick? Pipe rounds about 3 to 4 centimeters in diameter for a comfortable bite, and space them to allow a small foot to form. Smaller shells bake slightly faster, so adjust timing and watch for the first signs of set.
What if my meringue is flat or weeps? If the meringue looks flat, check the whisk speed and freshness of the egg whites. Use clean tools and a dry bowl, and add sugar gradually so the meringue can build structure. If it still weeps, a gentle re-whip may rescue it if no sugar was omitted.
Can I swap almond flour for another nut flour? Almond flour is the classic choice for shell structure and flavor, and I suggest sticking with it for reliable results. If you must swap, try a small test batch with similar texture and note that the shells may brown or behave differently.
How do I know when the shells have formed a skin? Gently touch the top of a piped shell with a clean finger or fingertip; it should feel dry and not tacky. If it is still sticky, give it more time to rest before baking to help the shell rise evenly and form clean feet.
The Story Behind This Small-Batch Chick Macarons
This recipe grew from quiet experiments and the joy of seeing small differences matter. I kept lowering, raising, and timing things until the texture felt right. It became a go-to because it teaches you to read batter and shells and to trust small cues.
There is a story behind almost every tweak, like the day I learned that my oven’s back corner ran hotter and that moving a sheet solved a repeat problem. Another time, a rainy day taught me patience with rest times and helped me appreciate the value of feel over a strict timer. Those moments are why this recipe is friendly for curious bakers.
I like that the chick shape softens the fear of perfection. If one chick looks a bit odd, it becomes part of the batch’s charm and a reminder of how each bake tells a small story. That sense of playful discovery was the main reason I kept testing and refining.
How This Dessert Is Meant to Be Enjoyed
Chick Macarons are made for slow moments and for sharing. They are not a hurried treat but a bite to savor with a warm cup or a small group of friends. The charm of the shape invites smiles and a relaxed pace.
They work well at a picnic inside a box of mixed sweets where you can pick a colorful bird and enjoy a quiet break. For gift-giving, wrap a small stack in parchment and tie gently with twine for a homey presentation. These little details make the treat feel thoughtful without being fussy.
If you want to pair them with other flavors on a dessert plate, consider soft, low-acidity fruits or a mild custard. Strong flavors can overwhelm the subtle almond and butter notes. A small, balanced plate lets each bite show the care behind the bake.
In one of my kitchen experiments I paired the chicks with a small savory board to contrast textures and colors. For curious bakers who like to mix sweet and savory, simple pairings can be inspiring and fun. If you enjoy that type of pairing, you might also enjoy exploring savory combinations on your own using guides like best toppings for chicken sandwiches to spark ideas.
FAQs About Chick Macarons
What if my shells crack in the oven? Cracks often mean the shells rose too quickly or did not form a skin. Try a longer rest time and a slightly lower oven temperature next time. A stable, even oven heat usually fixes this.
Can I color the shells different shades? Yes, you can split the batter and add small amounts of gel color to each portion. Add color at the final fold and mix gently so the batter stays consistent and not too thin.
How do I make the eyes and beak neatly? Use tiny chocolate chips or an edible marker to dot eyes after assembly. For the beak, a small piped dot of colored buttercream works well and can be shaped with a toothpick.
Is it normal for feet to vary in size? Yes, feet will vary with batter consistency and oven behavior. If you want bigger feet, make sure the batter is a touch looser and rest the shells long enough to form a good skin. Small practice runs help you find the balance.
Can kids help with making these? Definitely. Piping shapes and adding little faces is a friendly step for kids, and it helps them learn about patience and gentle movements. Supervise oven steps and the handling of hot sheets.
From My Kitchen to Yours
I hope this Chick Macarons encourages you to experiment a little and trust your instincts the way I have learned to trust mine. Baking these little birds taught me to look for texture and to listen to small cues more than a strict clock. Enjoy the process, celebrate the small wins, and share a few with someone who will smile when they see them.
If a batch does not go perfectly, treat it as a note in your baking journal, and try one small change next time. The kitchen is a place for play and steady learning, and little treats like this remind me that baking is part craft and part curiosity. Keep your hands light, your oven watched, and your heart open to the small surprises that come from trying something new.
More Sweet, Seasonal Treats You’ll Love
When you’re craving something soft and nostalgic, Marshmallow Fluff Fudge is a simple, old-fashioned sweet that melts just as easily into family moments. For playful comfort, Banana Pudding Rice Krispie Treats carry that familiar pudding flavor in a no-bake form everyone loves.you can always find me sharing from my kitchen on Pinterest and over on Facebook.
