The oven light pools over the kitchen like a small lighthouse, and I stand with a bowl of sliced apples that smell like late afternoons and old recipes. I remember the exact night a test batch told me what it wanted: a little more brown sugar, a softer crumble, a slower bake to coax out a warm sharpness from the fruit. That hush of smell, the soft tick of the oven, and the first spoonful steam became a quiet map for future bakes, the kind I share with friends and the kind I write down, alongside other small projects like my apple butter pie notes when I want to chase different textures.
Why This Apple Crumble Became a Favorite
This recipe felt right after several small-batch tests, each one teaching me something about texture and patience. I was chasing a topping that stayed crisp but still had a tender bite, and an apple filling that tasted like the fruit, not like a syrup. After trying different sugar balances and bake times I landed on this version, where the brown sugar adds depth and the oats give a rustic crunch that keeps its shape.
What made it settle into my regular rotation was how forgiving it was. The apples hold up without turning to mush, and the topping browns evenly even when I make a half batch for two. It is a recipe that lets curiosity in: try different apples, swap a spice, or test a tiny change and still expect good results.
I love recipes that welcome mistakes and small experiments, because that is where real learning lives. This crumble felt like that kind of recipe. It keeps the basics true while letting you play.
The Rhythm of Making Apple Crumble
“The moment the texture shifts, you know it’s ready.”
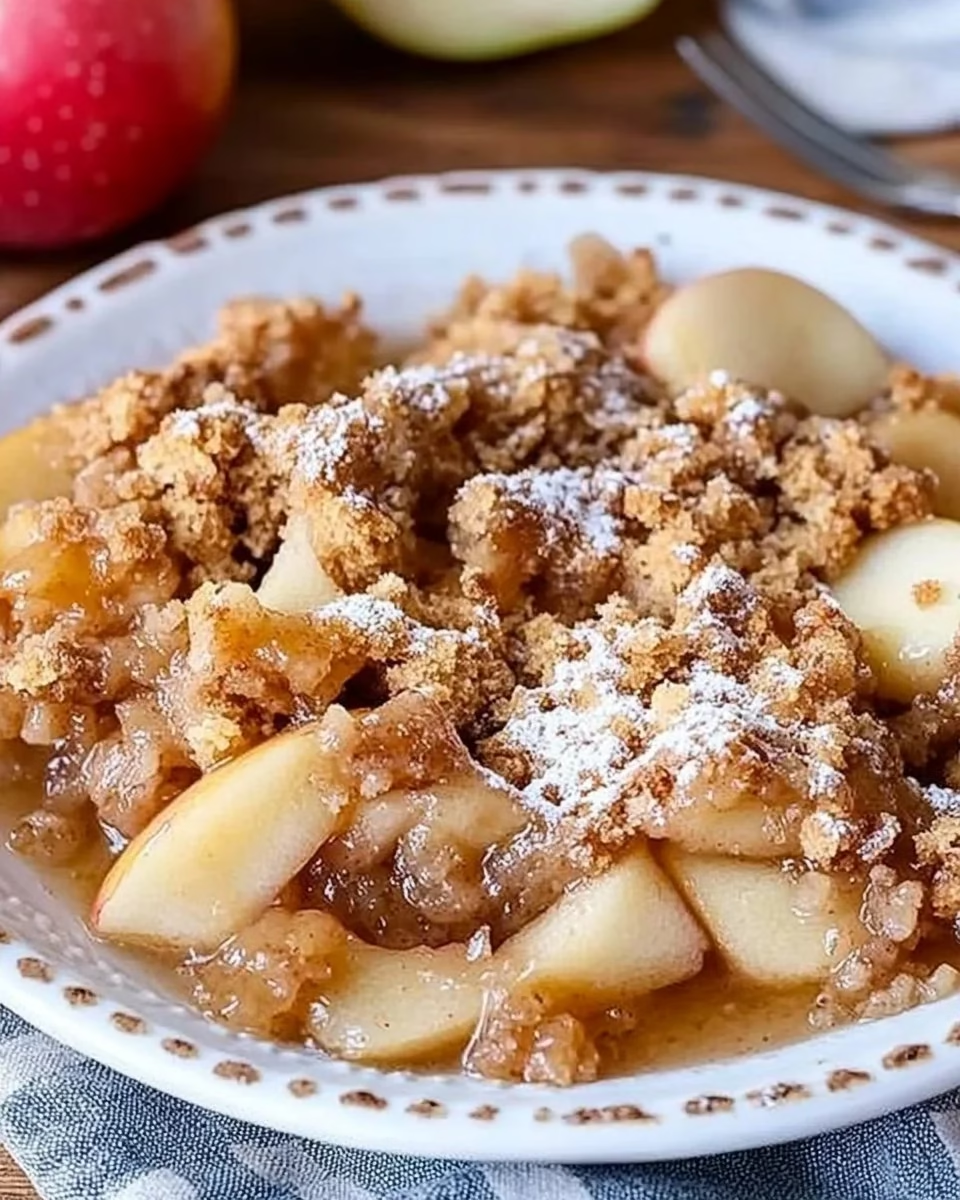
I like to think of this bake as a gentle rhythm: prepare, layer, top, and watch. The apples change in color and sheen as the sugar and lemon juice settle, becoming glossy and fragrant. The crumble takes on a sandy, slightly damp look when mixed, then turns golden and crackly in the oven.
During baking the kitchen fills with a warm, cinnamon-laced scent that tells you the sugars have started to sing. Watch for bubbling juices at the edges, a sure sign the apples are tender and the filling has thickened. When the top is golden and the center gives a little when nudged, the rhythm is complete and you can turn off the heat with confidence.
Ingredients You’ll Need
6 cups sliced apples — choose a mix of firm apples for texture, this keeps the filling from turning to mush.
1 cup brown sugar — adds depth and a soft molasses note that complements tart apples.
1 tablespoon lemon juice — brightens the fruit and keeps color from fading.
1 teaspoon cinnamon — warm, familiar spice that binds the flavors.
1 cup all-purpose flour — this helps with structure in the topping so it holds its shape.
1 cup oats — give the crumble a pleasing chew and rustic look.
1/2 cup granulated sugar — balances the brown sugar and adds crispness.
1/2 cup butter, melted — adds richness and helps the topping brown without being greasy.
1/4 teaspoon salt — brings out the flavor, just a small touch makes a big difference.
Each ingredient is simple and honest. You do not need fancy tools to measure or mix, just a good eye and a little patience. I keep notes when I change an ingredient so I remember how it affected texture or bake time.
Step-by-Step Directions
-
Preheat the oven to 350°F (175°C). Place the rack in the middle so heat moves evenly. Let the oven come fully to temperature so the topping begins to brown as soon as it goes in.
-
In a large bowl, mix sliced apples with brown sugar, lemon juice, and cinnamon. Toss gently so each slice gets a light, glossy coat and you start to smell the cinnamon. Watch for a smooth sheen on the apples instead of dry spots.
-
Spread the apple mixture in a greased baking dish. Level the top so the apples cook evenly and the juices have room to bubble. Press them gently so the slices nest together but still have room to steam.
-
In another bowl, combine flour, oats, granulated sugar, melted butter, and salt to create the crumble topping. Stir until the mixture looks like damp sand with small clumps. Stop once the bits hold together when pinched, not a paste.
-
Sprinkle the crumble topping over the apples. Cover the fruit evenly, leaving no bare spots, so each bite has some crunch. Pat it lightly in a few places to make contact with the apples below.
-
Bake in the preheated oven for 45-50 minutes, or until the topping is golden brown and the apples are bubbly. Watch for the juices to bubble around the edges and for the top to develop a deep color. Test the center with a small knife; the apples should be soft but not falling apart.
-
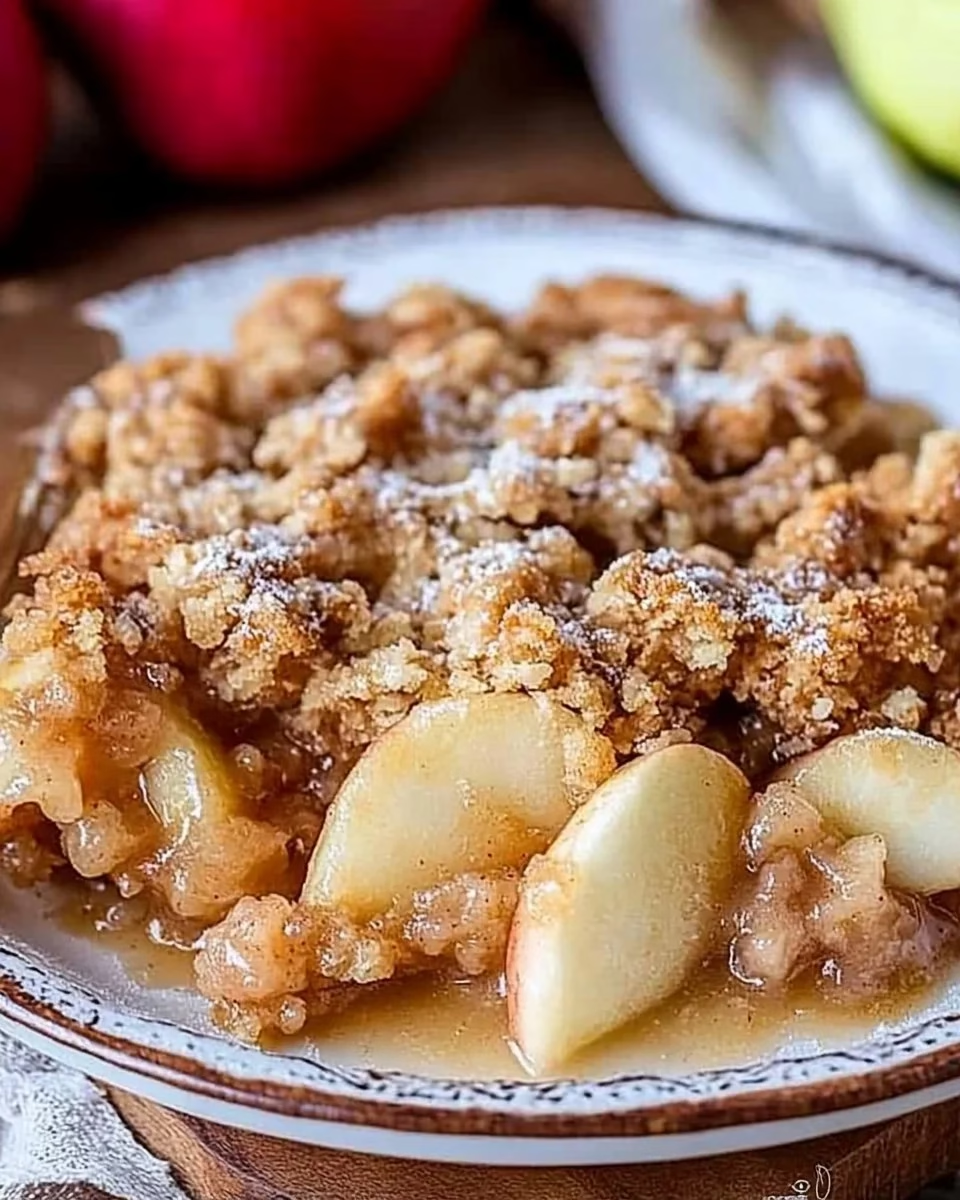
Serve warm, optionally with ice cream. Let the dish cool a few minutes so the filling sets slightly and is easier to plate. Scoop generous portions, and enjoy the contrast of warm fruit and cold cream.
When I Serve Apple Crumble
I often make this dessert on a quiet weekend, when the kitchen has room for slow things and a cup of tea waits nearby. It is a comfort dessert that travels well to friend gatherings, and it makes for a relaxed finish to a simple dinner. I like to plate it with a wide spoon and a dollop of vanilla ice cream or a splash of heavy cream for a softer edge.
When I want to be playful I serve small ramekins rather than a large dish, so each person gets their own browned top and bubbling center. This recipe also works well for potlucks, because it keeps its texture on a warm tray for a while. If you want a firmer slice for a buffet, let it cool fully and reheat gently before serving.
If you enjoy pairing flavors, you can try a tart pour-over or a companion pastry I tested in my apple butter pie experiments when you want a different type of apple treat. The crumble plays nicely with many simple additions: nuts for crunch, a splash of bourbon for warmth, or a touch of cardamom for a different scent.
Keeping Apple Crumble Fresh
Store leftover crumble in an airtight container at room temperature for up to 24 hours if you plan to eat it the next day. For longer storage, cool completely and refrigerate for up to four days; the topping will lose a bit of crispness but the flavor deepens. To bring back some crunch after refrigeration, warm in a 300°F oven for about 10 minutes.
If you want to freeze a portion, wrap it tightly in plastic wrap and then foil. Freeze for up to three months. Thaw overnight in the fridge and reheat in a low oven until warm through. Expect a slight change in texture when frozen, but the bake still tastes very good, especially with a fresh scoop of ice cream.
Keep in mind that the topping softens as the filling releases moisture. That is not a flaw. It is a sign the filling is juicy. Crisp it again briefly in the oven if you want contrast.
Carol’s Baking Notes
-
Apples matter more than you think. I test with firm apples like Granny Smith and a softer sweet apple to get balance. Firm apples keep their shape and give you distinct slices in the filling.
-
Don’t overmix the topping. Stir until the butter coats the flour and oats, then stop. Overworking creates a denser crumb that will not brown as nicely.
-
Watch the edges for a sure test of doneness. The juices will bubble at the sides first; when they are lively and the topping is golden, the center is likely done. A small knife through the center should meet soft fruit without too much resistance.
-
Adjust sugar with your apples. If your apples are very sweet, reduce the granulated sugar in the topping slightly. I keep notes of which apples I used so I can tweak sugar next time.
-
Let it rest a few minutes before serving. This helps the filling hold together and makes slicing cleaner. The aroma will still be warm and inviting, and the texture will be kinder to the spoon.
Variations I’ve Tried
Add chopped nuts to the crumble topping for an extra crunch. Toast the nuts lightly before folding them in so they deepen in flavor and add a toasty note. Pecans or walnuts work well and pair nicely with brown sugar and cinnamon.
Stir in a little ginger or cardamom to the apples for a spice shift. I like a small pinch of ground ginger when I want a brighter finish, and cardamom when I want something floral and rounded. Start with a small pinch—you can always add more next time.
Swap half the butter for coconut oil to change the flavor and make the topping slightly lighter. The texture is similar and you get a faint coconut note that plays well with tart apples. Try this when you want a different aroma without changing the method.
Scatter fresh cranberries into the apple layer for a tart contrast in colder months. The cranberries add bright pops of flavor and a jewel-like color. Adjust sugar slightly if you like less tartness.
Make individual ramekins for a smaller, single-serve treat. They bake faster, and you can watch each one brown differently. This is a good way to test small changes like a different spice or a nut in the topping.
FAQs About Apple Crumble
Can I make this ahead of time?
Yes, and in some cases it actually sets better after resting, especially once the texture has fully settled. Bake fully, cool, then refrigerate or freeze; reheat gently before serving to refresh the topping.
What kind of apples are best?
Firm apples like Granny Smith or Honeycrisp give you structure, while sweeter apples like Fuji add sugar and softness. I often mix two types to balance tang and sweetness.
Can I reduce the sugar?
You can reduce the granulated sugar a little, depending on your apples. If your fruit is very sweet, try cutting the granulated sugar by a tablespoon or two and note how it affects browning and flavor.
How do I get a crunchier topping?
Use slightly less melted butter or add a small handful of chopped nuts and a sprinkle of coarse sugar on top before baking. Bake until the topping is deeply golden and let it dry a few minutes on a cooling rack.
Is the topping suitable for gluten-free baking?
You can swap the flour for a gluten-free blend and use certified gluten-free oats. The texture changes a bit, often becoming more tender, so watch bake time and expect a slightly different crumble.
A Final Thought
I hope this recipe invites you to play in the kitchen a little, to test a tiny change and take notes like a curious friend. Baking in small batches taught me to listen to the scent, the slight give of the fruit, and the quiet color shift on the top. Trust your oven a little, trust your senses, and remember that a simple dessert can offer lots of room for discovery. From my kitchen to yours, may your next crisp be warm, bright, and shared.
Apple Crumble
Ingredients
Filling
- 6 cups sliced apples A mix of firm apples like Granny Smith for texture.
- 1 cup brown sugar Adds depth and a soft molasses note.
- 1 tablespoon lemon juice Brightens the fruit and prevents browning.
- 1 teaspoon cinnamon Warm spice that enhances flavor.
Crumble Topping
- 1 cup all-purpose flour Helps structure the topping.
- 1 cup oats Provides a pleasing chew and rustic look.
- 1/2 cup granulated sugar Balances the flavors and adds crispiness.
- 1/2 cup butter, melted Adds richness and aids browning.
- 1/4 teaspoon salt Enhances the overall flavor.
Instructions
Preparation
- Preheat the oven to 350°F (175°C) and place the rack in the middle.
- In a large bowl, mix sliced apples with brown sugar, lemon juice, and cinnamon until evenly coated.
- Spread the apple mixture in a greased baking dish, leveling the top.
Crumble Topping
- In another bowl, combine flour, oats, granulated sugar, melted butter, and salt to create the crumble topping.
- Stir until the mixture resembles damp sand and holds together when pinched.
- Sprinkle the crumble topping evenly over the apples, patting down lightly.
Baking
- Bake in the preheated oven for 45-50 minutes, or until the topping is golden brown and juices are bubbling.
- Serve warm, optionally with ice cream.